You have bought yourself a trail camera but wonder how do trail cameras work to capture the best nature moments? Good question, we are here to help answer this question. Whether you are a hunter or a nature lover who wants to follow animal movements the trail camera is the best tool to have.
In addition, for those of you who have never used one or not sure what to look for we have everything available here to get you on the right track when in need of buying one.
What are Trail Cams?
Trail cameras are great tools to have if you are a hunter or enjoy watching nature. These gadgets you can set up around a certain area to view animal movements and is great for the hunter in need of finding a trophy.
Detection Circuit
The trail camera comprises a detection circuit that helps detect the movement of animals in the surrounding area. The trail cam works by detecting motion and heat and based on the Trigger Time, Recovery Time, Detection Zone, and Trigger & Recovery Time.The trigger time is the time elapsed when the trail cam first detected motion and captures an image of anything causing the movement.
At the same time, the trigger speed plays an important part of capturing an image as it determines how quick the warm up time is for the camera to capture the best shot. Trail cams have different speeds from 0.13 to 1.3 seconds.The recovery time is how quick the camera stores the 1st image and gets ready to take the 2nd image. Different brands have a variety of recovery and trigger times.
Two Different Capture Modes
Trail cams can capture images in still photos or video. Using the still photo mode is superb but the video has great advantages as well. Video mode allows you to enter the animal’s world to see how they behave in their environment.
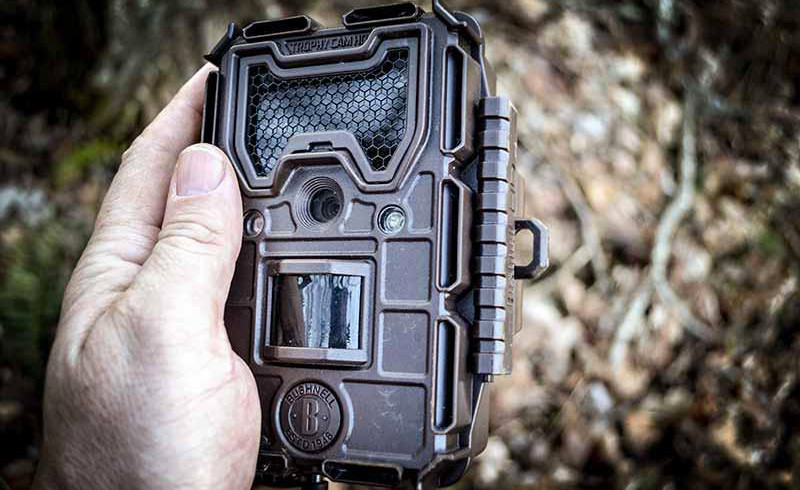
There are certain brands available that allow you to capture both and the leader in this group is the Bushnell brand.
The Battery Use
As this gadget works with batteries it is important to check how long the battery life is of the device you are buying. You need a long-lasting battery that can work well out in the field. Buying one with a long-life battery saves you money. There are different battery options you can choose the NIMH rechargeable battery and Lithium Battery.
Infrared Emitters or Flashes
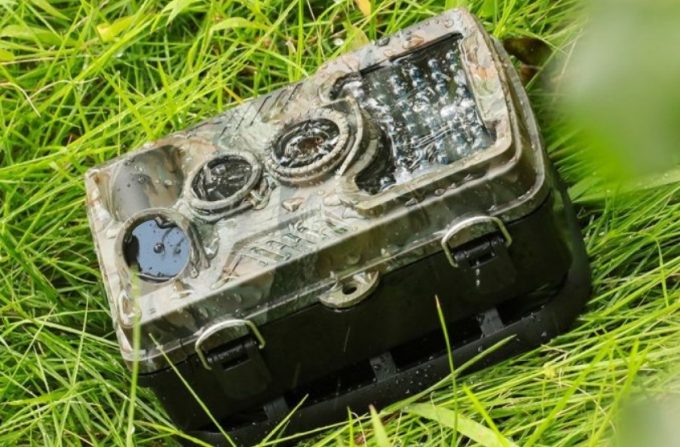
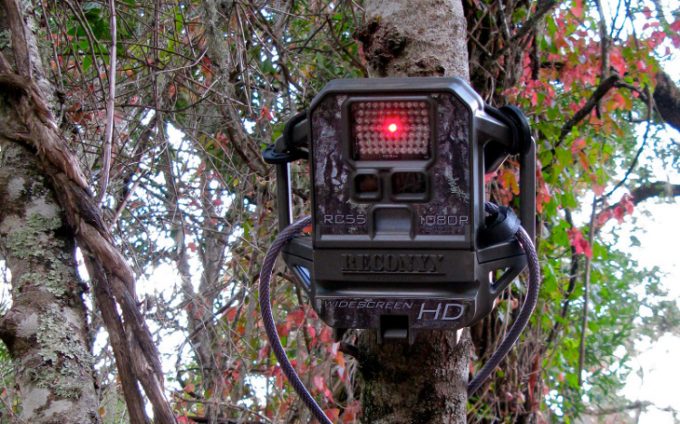
The trail cam has infrared emitters that give a red glow flash or you can buy it in a “No Glow” version and this determines how bright pictures are when taken at night.
A diverse flash selection available determining the quality of the pictures taken at night:
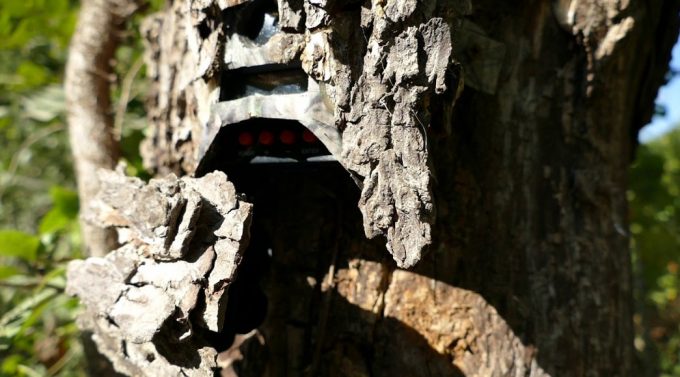
- The No-Glow Flash – these types of cameras have a black LED that is invisible to both animals and humans. Buying this type of flash gives you black and white pictures when taken at night. It will not spook away game and is a favorite with hunters. The only concern is that these types of trail cam’s flash range are not long but not that big of an issue.
- The Low-Glow Flash – this type of flash is not a favorite but emits a visible flash and reduces as the red glow faints away. It also takes black & white pictures at night and a great alternative to the No-Glow Flash.
- The White-Flash – these types of flashes have come a long way and images are visible in color during the day or night. Furthermore, using a white-flash gives you the best quality images but can scare the game away.
On the other hand, you need to remember that night pictures can be darker when using a No-Glow compared to your traditional white-flash and the range differs as well.
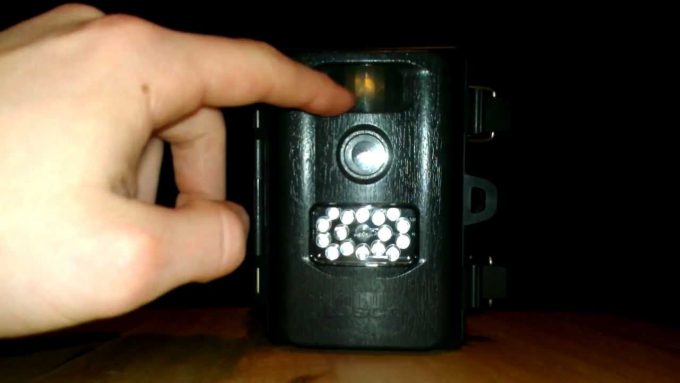
Look at the number of LED’s built into the camera as trail cams with a larger number of LEDs gives a better illumination than ones that have less.
The Picture Quality of the Trail Camera
Never be fooled by the different megapixel counts as manufacturers may advertise a high mpxl but use low-quality lenses that reduce the picture quality.The best way to judge images is to view sample photos of each brand available before buying. You can look at the color, clarity, resolution, and contrast of the images taken.
The Detection Zone
The detection zone is the region in which you place the trail camera and picks up the motion of animals to take a photo. There are two factors that help you to determine a detecting zone, the width, and range that we will discuss further on.The detection zones spread out in a V shape form. The higher the range of detection it allows that trail camera to capture images in a wider zone.
Other Important Features
- PIR Angle – this refers to the degree the trail cam can detect movement. Models that have a large PIR Angle detect movement fast and capture the animal in the center opposed to the edges like the majority of lower quality trail cameras. Using a high-quality trail camera normally has a 48° angle and captures anything passing by.
- Sensitivity Adjustment – this conveys how responsive the camera is to passing by objects. With a high sensitive trail cam, you can capture from slow to fast moving objects and it is best to choose one that you can change the sensitivity of the camera.
- Laser Aiming – this type of camera allows you to hang it anywhere giving you visual effects as to where the lens is aiming via a laser point. This is great to an extent but not as valuable when used in open terrain.
- Burst Mode allows you to capture a programmed amount of pics before it stops. This can be three images taken after one another before resetting. This feature is great but can fill up the SD card quickly when placed out on a trail.
- GPS Geotag – many of the high-end brands offer you automatic GPS coordinates of the camera location on maps to keep track where you placed a trail cam.
- Wireless Connectivity – this amazing feature allows you to view images available on the trail cam without the need of removing the SD card. For hunters, this helps a lot as it prevents you from disturbing a hunting area. You can receive the images via a text or email.
- Motion Freeze – using this characteristic lowers the chance of images blurred. This is great if you use the camera over game trails and fixes blurry images.
- SD Card – If you are planning to capture loads of images, you need a device that can handle a large SD card as small memory cards fill up quickly.
- Time Lapse – this feature automatically snaps objects set at intervals from one minute to an hour and the choice left up to you. You can buy brands with two-time slots to ensure monitoring objects from dusk to dawn.
- Time Stamp – for the hunter in need of learning about the different animals passing the camera the date and time stamp helps to keep track of the moon phase, weather and more. If you do not want this feature, certain trail cams allow you to turn off this feature.
These gadgets are complex in their own unique way and available in different forms with a wide variety of functions. To find out more about the diverse types available stay a while and read on.
Different Types of Trail Cameras
Every year you can find something new in trail cameras, but not all the features mentioned are important. This unique piece of equipment has become an essential part of any outdoors person life. They are not only suitable for detecting game but great for picking up the movement of intruders as well. There is a wide selection available and it does not matter what you want to use it for they are great tools to have.
The Digital Game Camera
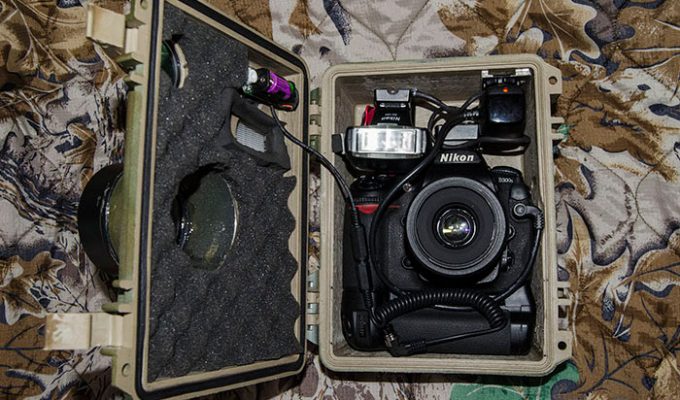
The digital game camera functions as any other unit available and is self-contained with night capabilities, data storage, and power. Once an object enters the detection zone it records a still frame. The manufacturer of the unit determines the detection zone but you can buy a range that offers you a video option as well. Viewing the images requires you to download the pictures taken and many of them have the night capture mode included and work with LED or the customary flash.
The Film Trail Camera
These trail cams are like the digital ones the only difference is the medium. A digital unit captures images saved on a memory card while a film one captures pictures on a normal film that you need to develop.
Nature photographers typically use this type of camera as the retrieval time of images is lagging and works with motion sensors.
The Cellular Trail cam
This type of camera captures images digitally but does not store the data on the device, it transfers the information to your cell phone. You need the internet or wireless access to retrieve images and you need a SIM card with a data package and good signal.
The Sound Producing Trail Camera
If you want to record wildlife, you need a sound producing trail camera. These units store animal noises and calls and you can play it back at a later stage.The trail cam has a sound selection you can use to attract animals. Storing of the sounds digital and certain units you can activate remotely or triggered by a time or motion sensor.
Security Trail cams
The security trail cams favored by the homeowner to the sportsman. These cameras you connect to your computer system locally or wirelessly. It captures data and stores it on a flash or USB drive. You can transmit the data to different locations depending on the system used.
How To Position a Trail Cam to Capture the Best Images
How many times have you returned to your trail cam out in the woods acting like a kid on Christmas day removing the data finally to find that you did not pay attention to all the important features of the camera? What happened is the images are misaligned, dark, and obscure or it is blank?
All those weeks spent out in the field gone, for a hunter this is a big disappointment. The trail camera is the eyes out in the forest all discrete observing everything moving around it. These magnificent devices keep track of the natural surroundings of animals for you to make a knowledgeable choice where to hunt.
They help you pinpoint the animal’s home range that is difficult to do without these devices. However, most importantly the images captured by this equipment are addicting and fun to collect. They make you step into the wild giving you all the secrets that lay deep in the woods and for hunters, this is important to capture his next big trophy.
However, for you to capture that amazing image you need to know how to use your trail camera to capture the best images leaving you satisfied at the end of the day. Here are a few things you can consider when setting up the trail cam capturing everything you need for your next nature research or hunt.
Important Tips to Capture the Perfect Shot
By implementing the following tips, you will have your trail camera set up to capture the perfect shot every time.
The Angle of the Trail cam
This is an important characteristic to keep in mind as it affects the outcome of the images taken. Choosing the incorrect angle leaves you with frustration as the pictures will not be perfect. Never mount the device too low or high. The best spot is four feet from the ground.
Using this height there is no need of adjusting the angle up or down. If you are interested in capturing smaller animals and turkeys, we suggest you set the camera a lower height. For larger animals, you can hang the unit higher but the best starting point is 4-feet.
Make sure the camera is pointing at the correct spot, for example, if you plan to take images at a mineral site, keep the spot at the bottom middle region of the trail cam. If you are out looking for deer never position the camera upright to the trail as it will miss triggers. Rather aim the camera up or down the track as it can view what is approaching and the images appear more detailed.
After setting the trail camera up at the correct angle, make sure to take test images before leaving it there. Do this by walking in front of the camera and look at the images by using a card reader or your laptop. If you do find that you are way out of the frame you can set it right saving you lost time.
The Contrast of the Camera
Setting the contrast to light leaves you with images that are not clear and too much light gives a hazy look. Here is what you can do:
- Place the trail cam where it is not sensitive to light; place it in a shaded setting with moderate light levels to capture images throughout the day.
- On cloudy days, you can place the trail camera out in an open field but can overexpose the images when the sun’s shining brightly. You may even find the shadow of clouds or trees can trigger the trail cam.
- Using the camera at a food plot, you can mitigate the levels of the contrast and light – north is normally the best direction to face the camera as it avoids the southerly sun depending on where you live. Placing the equipment incorrectly can cause hazy images when the sun’s directly above the lens. Point the camera either east or west for during the day capturing as images can get washed out when capturing early morning and evening shots. The best is still north.
Capturing the Best Color
Now and again, you get an amazing image when browsing through the pics, but after a while, you see the colors not consistent. Using the correct light exposure and contrast goes hand-in-hand to get the best color shots.
The Structure
The background of the image is just as important and the best place to set up the camera is a spot without too much junk such as weeds, brushes and more. Keep this in mind when setting up your trail cam as a buck makes for a perfect image with a scenic oak, pond and tree canopy. The background can ruin the perfect shot.
The Trail Camera Chip
Buying a low-grade chip instead of a quality one makes a difference when buying the best trail camera. The best is to buy one with loads of memory to leave the device out in the forest for weeks. A minimum choice is the 8 GB memory card and best to start with. If you plan to take loads of videos, we suggest you buy a 16-32 GB card.
Depending on the unit you buy, it may require more up-to-date cards that operate faster. Using a low-grade SD card may lessen the data capturing as needed. One more important thing never deletes the images directly from the card when placed on the computer as it affects the way the trail camera reads the images.Copy the images to the computer, and format the memory card when placed in the camera every time as this removes the pics and starts a fresh.
Positioning the Trail cam
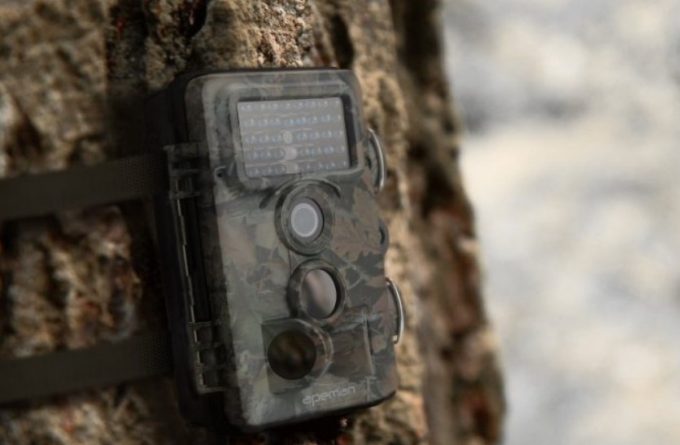
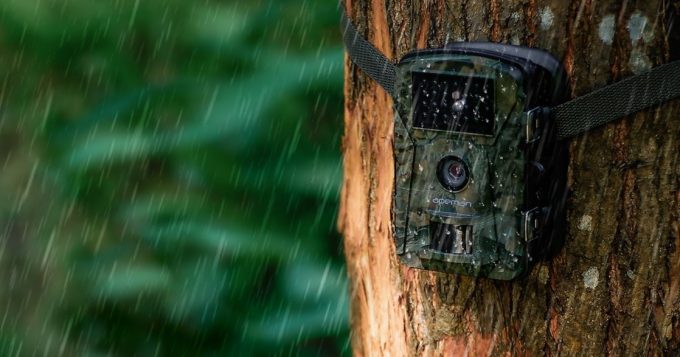
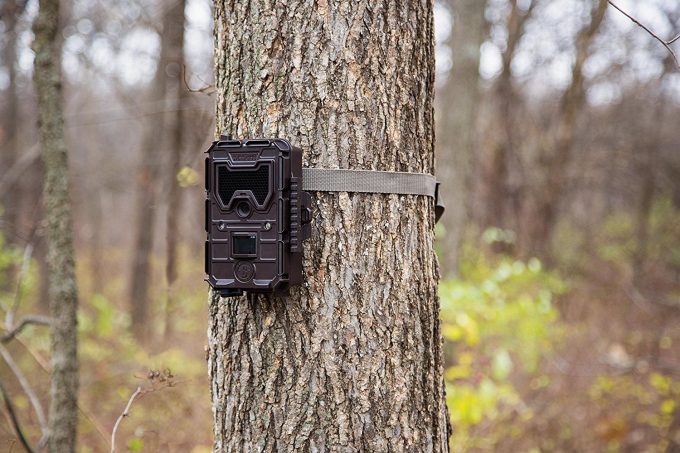
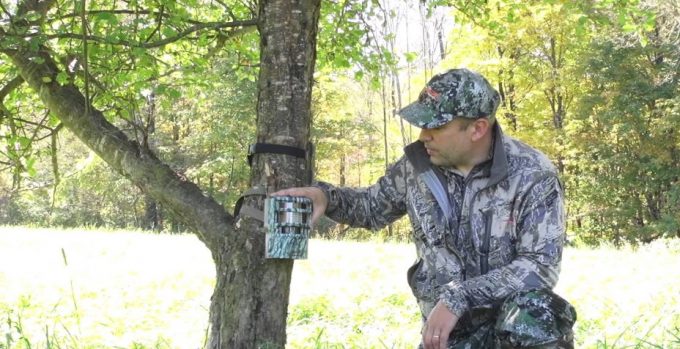
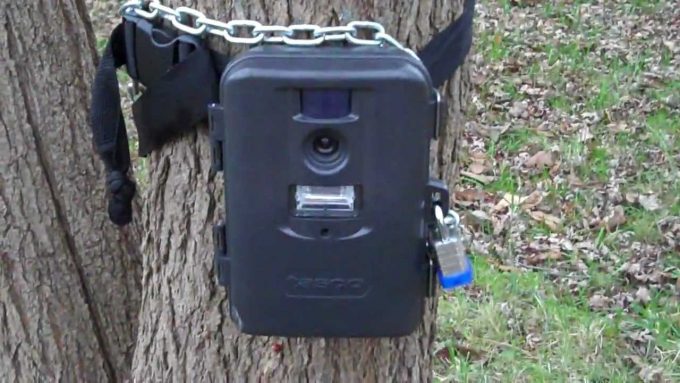
Now that the capturing of amazing pictures completed it is time to mount the camera in the correct way. Positioning the camera is easy and a tree nearby works well. Attach the trail cam 4-feet up at the base of a tree. Keep the camera securely locked if placed on private land.
If there are no trees available, it is time to become creative:
- Use a trail camera support that simply screws onto a post such as the Muddy Outdoors – this type of mount allows you to adjust the point of view and position of the camera. These are great if there are posts available but may not work when used in an open field.
- For the open field without trees and posts, you can choose a ground to mount as it simply sticks into the ground and you can adjust the height according to your needs ranging from 19-inches to 41-inches from the ground. You can buy dual camera ground mounts as well to hold two cameras simultaneously.
By following these simple steps, you can enjoy watching the images the trail camera has captured for weeks on end without getting blurry or fuzzy images.
Wrapping Up
Trail cameras you can buy in different brands and styles. Each style of the camera reflects the use of these outstanding devices. A number of the units available have given many people important scientific information from observing different objects in the wild. Others use the trail cam for security reasons to protect their property from animal damage or theft.
On the other hand, game hunters and sportsman find them very important to keep track of animals for the next hunt. No matter what your needs the trail camera has different features to capture and store data and you can place it in different locations capturing stunning images to view at a later stage.
We’d love to hear what you use a trail camera for and if you have any great pointers for them. Please let us know in the comments section below.


