
Stargazing is a relaxing and you need a telescope. Maybe you have recently bought yourself one and the instruction book you received with your device is not very helpful. If you are an aspiring astronomer wanting to learn how to use the telescope, you are in the right place. We are here to help you with how to use a telescope the correct way.
Different Types of Telescopes
Depending on the type of telescope you have determines what type of viewing you are able to observe. You may have a catadioptric, refractor, or reflector telescope. Each one presents you with different viewing options. The Catadioptric model is a telescope with a combination of lenses and mirrors.
They are normally easy to carry around with you and are a great photographic telescope. The Refractor model is a thin tube with an objective lens and best for viewing the moon and planets. You can get a clear image view and a great telescope to take with you on travels.

The only concern is that you cannot use it for viewing faint objects in the galaxy. While the Reflector model has a massive concave mirror compared to a lens and great for beginners to use. The downside is you cannot view earthly objects with it while with the refractor you can.
Your Telescopes and Its Components
The first and most important thing when receiving your telescope is not to rush outdoors and try it out. First, you need to know what you can see in the sky and what to look for. Secondly, once removing your telescope from the box take your time with setting up the device and learn how to use it properly.
Always make sure you assemble it in the correct way and it is best to check your focus using the instrument during the day before trying it out at night. The reason for this is that daytime objects are more visible than nighttime objects. Also, it is simpler to see where the adjustments are while getting used to them.
However, before we get to set up the telescope, ask yourself ‘what do you expect to see?’. Our answer to this question is to not expect too much the first time. Astronomy is a rewarding hobby and the good news is you will see the moon and planets and even the galaxies and nebulae depending on how strong enough your scope is.
However, be warned they are not going to look like the images in those magazines you have been reading. If you have bought one with an aperture below 4-inches, you will see lovely celestial objects but eventually, you will need one with bigger eyepieces.
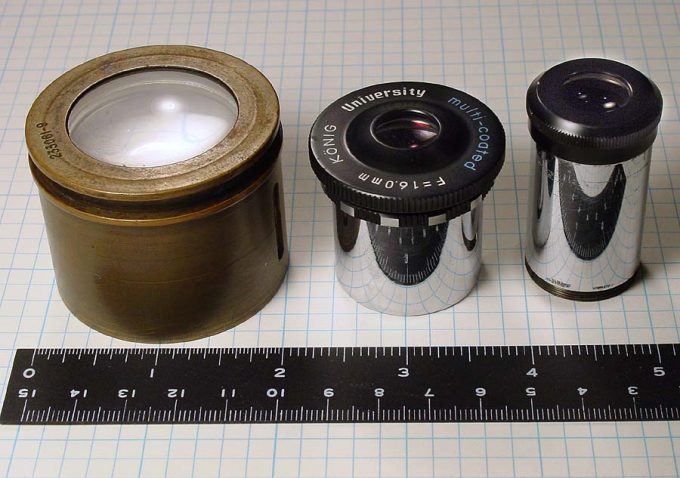
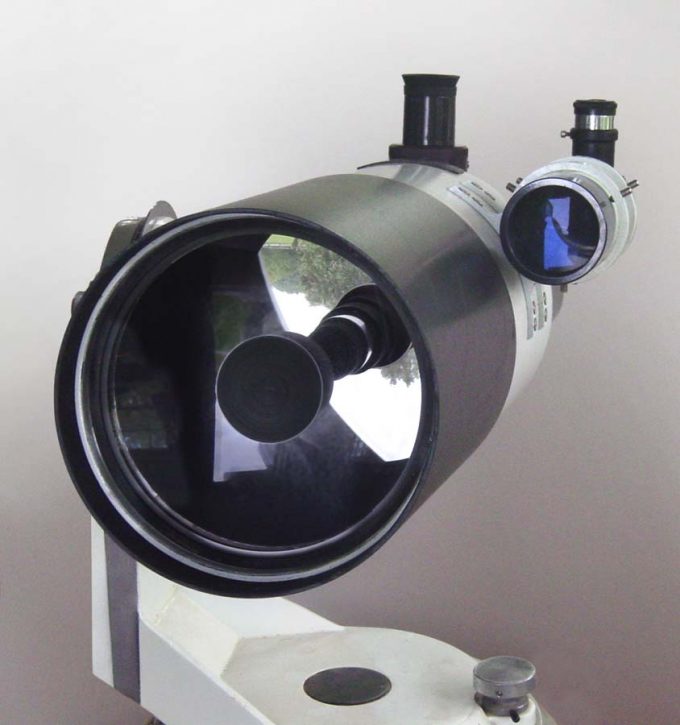
The Eyepieces
The eyepieces you received with your telescope is likely of low quality and does not give you much variation as most of them supplied with only two. You do need at least three sizes for the best viewing. You want to track down some in sizes about 6mm, 12.5mm, and 20mm.
Also, you’ll want to make sure they are the correct diameter for the telescope you are using. The small one is great for viewing the moon and planets while the medium one is perfect for viewing star cluster. The larger one is for deep sky viewing and faint objects.
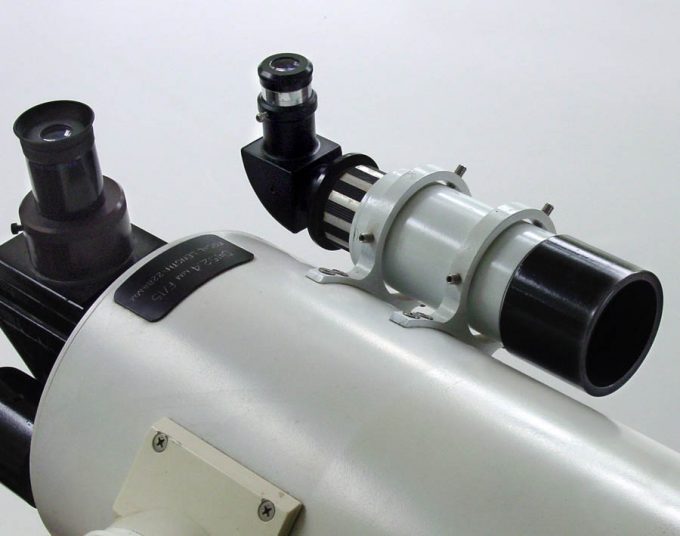
Learn the Finder Scope
The finder scope you can find on the side of the telescope and helps you to view the sky. This tends to be a lower powered optic that helps make sure you are pointed in the right area of the sky.
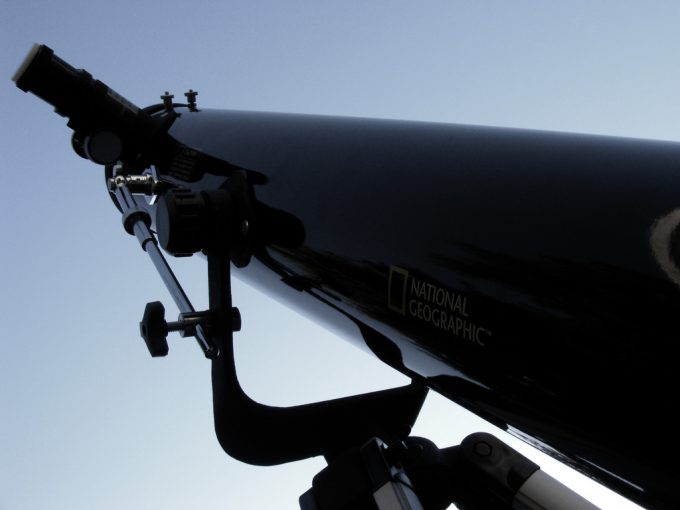
Your main scope will be zoomed in quite a bit, this one sports a lower magnification, giving you a wider field of view. Once you have learned what you are capable of viewing it is time to move onto the telescope on the tripod.
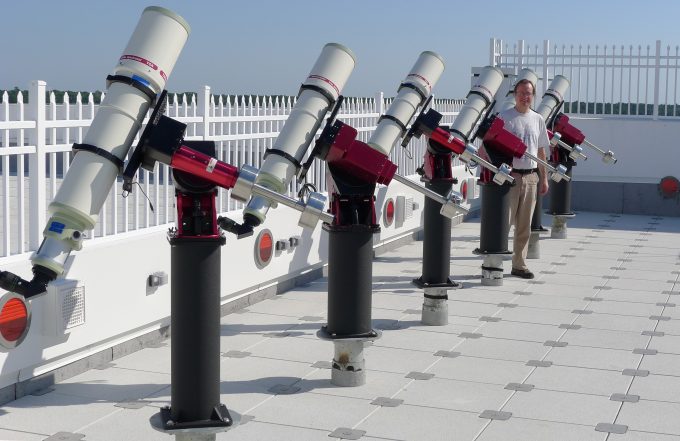
Learn more about the Mount
You can receive your telescope with two different mounts altazimuth or equatorial one. You need to know which one you have as this helps you with using your telescope. Using the altazimuth only allows you to operate it up and down or side to side and simple to use. While the equatorial mount swings from north to south and east to west.
It has a rotating polar axis and needs alignment to the Polaris North Star. This type of mount takes a time to get used to as every time you want to view a different planet or star you have to unlock the axis and use your finder scope to find the heavenly body you want to look at and lock it in place.
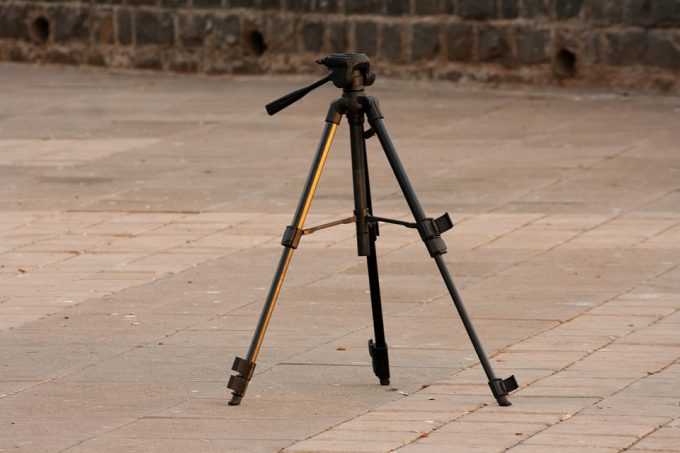
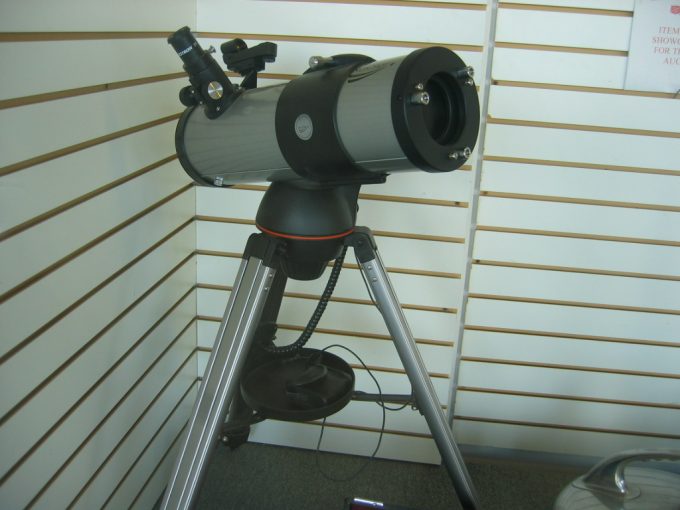
Learn more about the tripod
You may have received a tripod included with your purchase. Once the tripods set up it is best to ensure that the legs balance properly. If not done in the correct way it can fall over and cause damage to the telescope. Use a flat level area when indoors or outdoors to set up the tripod and your telescope.
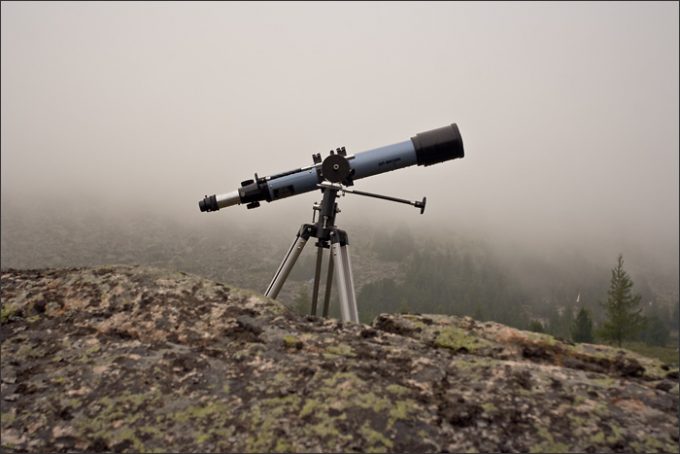
If you find that your tripod can’t hold your telescope steadily, you won’t have much of a shot of getting clear views of heavenly objects. Any minor shaking will be magnified in your view.
Assembling the Telescope
Every telescope has a dissimilar design when it comes to assembling. Further, how it all goes together depends on the components included. As mentioned previously, using the altazimuth mount is straightforward here we are using the Equatorial mount used on the tripod.
First Step: Aligning the mount and tripod correctly
First, you need to line up the mount, the correct way and make sure it is standing level or you will not be able to track objects as they progress across the skies according to the Earth’s rotation. If you live in the north, the best to bring into line the telescope to show south. This has to do with the rotation of the Earth’s axis.
The earth’s about 23.5 degrees to the surface of the astral structure and you need to determine towards which side you are located. To locate the south, you need a small compass if you didn’t find one included with your telescope. Take the compass, position it on the mount head, and align the north point on the mount by means of the compass.
This method applies if the telescope is not mounted but if you have, you can position the compass as close as possible to the mount to align the needle. This is not the time to get it perfectly aligned, as you will make some further adjustments that may cause it to need to be realigned somewhat.
Extend the legs of the tripod to the height needed, lock it in place, and use a level to make sure your tripods standing correctly. If you have fixed the telescope to the stand, you can take the level and hold it on the flat part of the type of mount you are currently using.
Once leveled re-check your alignment to the north with your compass and alter the point of the tripod if needed.
Second Step: Raising the Right Ascension Axis to align it on Polaris
When using an equatorial mount effectively you need to tilt the RA (Right Ascension) axis to point in the direction of the Earth’s axis, which is the North Star or Polaris. You will find a right ascension point dial with screws enabling you to set it to the right angle. You can set the correct angle as the dials graduated to set your location.
The latitude you can find on a Decree Survey map of your country or use Google Maps. To position the latitude you need to release the clasping device and rotate the adjusting bolts to either lower or raise the right ascension axis until you reach the latitude degree as per your country.
Once you have, done this lock the adjuster in place. This is the best setup to use before actually starting with your observation. Now, return the telescope to the south. Now it is time to line up the viewfinder with your telescope.
Third Step: Time use the Finder
Take your eyepiece, preferably a 25mm one, and fit it to the focuser. Find a planet or the brightest star you can see and aim your telescope directly at it. Now, look down the tube of the telescope, release the control, and align it on the entity.
Now slowly shift the telescope around while viewing through the eyepiece until the image you pointed at comes into view. Lock the control in place and with the slow motion, drivers centralize the object in the eyepiece. To do this while looking through the finder use the adjusting screws for centralizing the finder and main telescope.
Once these steps are done you are ready to use your finder. Now move your telescope away from the object and use your finder to locate the object making sure you can see it in the eyepiece. For an accurate alignment, you need a clear view of the Pole Star and if needed to move the telescope you must re-level it once again to the north.
Fourth Step: The Indicator Barrel
When you look through the finder of the telescope Polaris should be visible in it. If not then bring it to the center by using the RA angle adjuster to move it up or down. If you want to move it from side to side, you will need to loosen the clamp nut of the mount. Now use the adjustment knobs to rotate the mount.
If you have an EQ1 mount, you need to rotate it by hand. Once the Pole Stars centralized in the finder you need to look through the telescope and centralized it there as well by using the Dec and RA adjusters. Now fasten the clamps and face your telescope to the south position.
Once you have made the adjustments there is no need of adjusting it again in the future when used. The only thing you might need to do is level your tripod and aligns it to the north.
Additional Advice
Before you actually start with your observation, follow this additional advice:
- If you are using the telescope in a similar location on a normal basis, make marking where the legs of the tripods standing
- When outdoors, it is best to set the tripod up on a flat area as this avoids the legs from sliding
- The best outdoor setup is away from buildings and brick walls as they retain heat throughout the day and with cold air, during the evening it causes heat convection – this degrades the image
- Prevent setting up the device in direct light and use a screen to stop light from shimmering straight into the eyes
- Always set up the device at least half an hour before you observe as this allows the telescope to adjust to the temperature
- Always keep your telescope’s cover on it until used as it avoids moisture on the lens and depends on where you are leaving it indoors or outdoors
- When using your telescope sits on a chair as it is more relaxed and steadier to control
Final Thoughts
How your telescope is set up depends on the particular type and model of your telescope as well as the type of mount you use. Always follow your manufacturer’s setup instructions to make your life simpler. Moreover, before you start heading outdoors to observe the night sky you first need to figure out what you would like to view.
Is it the moon or planets or are you interested in viewing a meteor shower? For instance, if you plan looking at starts doing this on a moonlit night is not your best option. Read different books as they help you with the best viewing times to see planets and more.
Use sky charts to learn where you need to point your telescope and train your eye by making sketches of what you see. Is there anything that we missed if so let us know about it in the comments below.