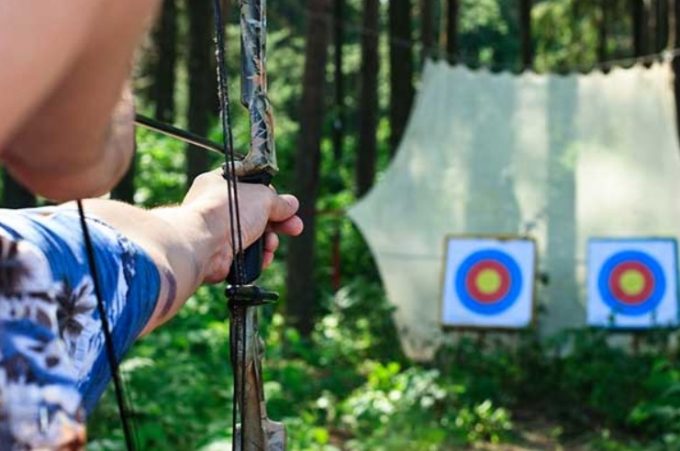
So, you have a bow and love using it. But somehow, no matter how calm and focused you are, and how hard you try to hit the target, arrows simply don’t go quite where you want them to. Have you considered checking if your sights are well adjusted? Do you want to learn how to adjust bow sights so that you never miss your game? You are on the right page!
Adjusting a bow sight is essential for consistent, and accurate shooting, but it takes concentration and preparation. Modern bow sight systems are sturdy and seemingly simple, yet very high-tech and indeed made lives less demanding and precise.
A properly sighted bow can make the difference between a successful harvest and a wounded animal, but one thing that can often be frustrating to even experienced archers is getting a bow perfectly adjusted.
We know how frustrating adjusting the bow sight is and how much time can be wasted in the process if you’re not sure of what you’re doing. That is why we decided to help you out. In this article, we’ll explain simple steps to make sure your sight is square and ensure that you are getting the highest accuracy out of your setup.
How Does a Bow Sight Work?
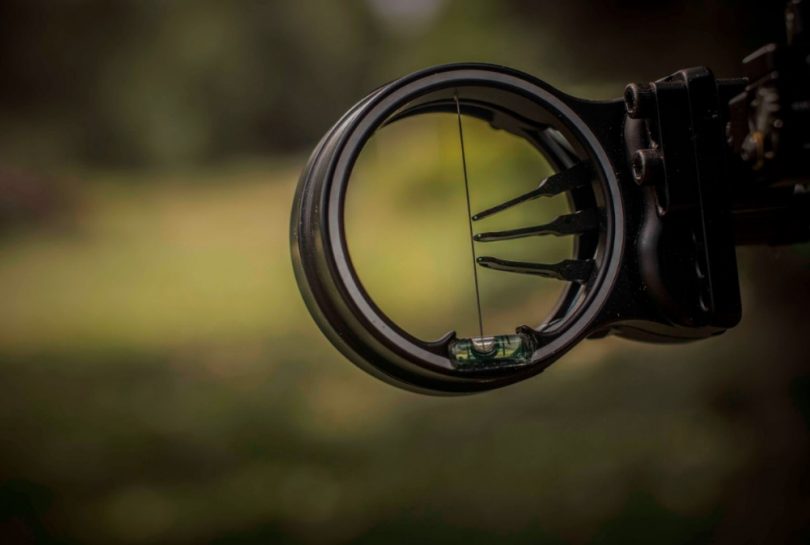
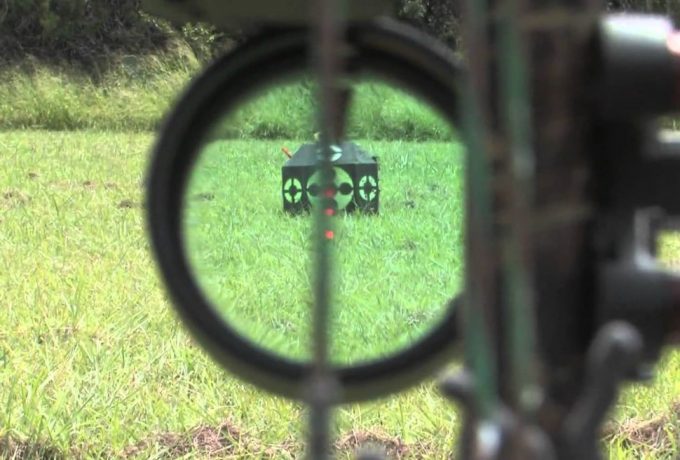
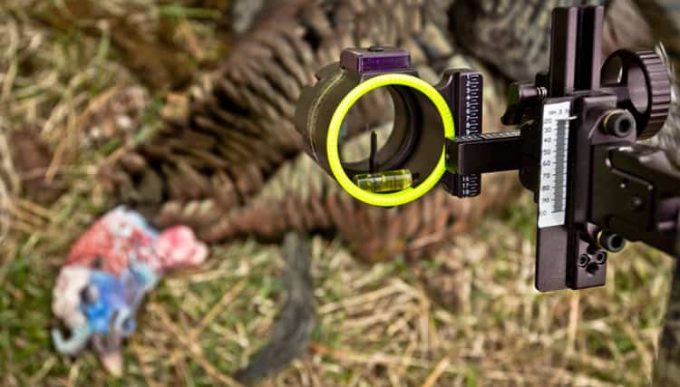
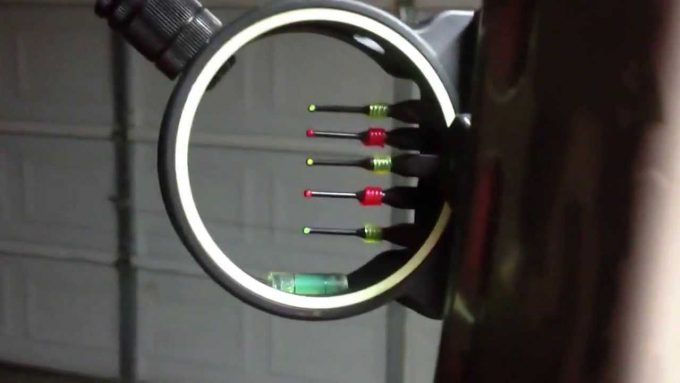
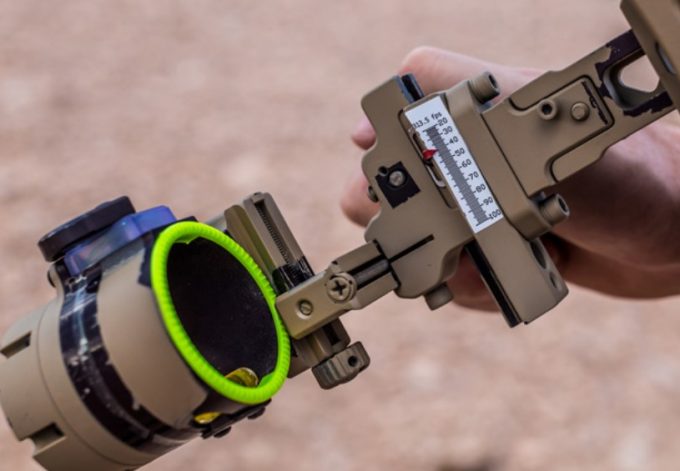
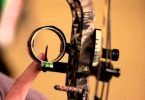
The sight on a bow performs the same function as the sight on a gun. Bow sights are designed to help hunters gain more control of where they aim their arrow; it indicates to you where the arrow is pointed and those tiny dots at the center of the sight housing known as pins are the aiming points.
Bow sights usually have multiple pins, and each pin represents a known yardage, with the top pin for the closest distance and the bottom pin for the furthest. If you have ever set the pins on a bow sight, it’s rather enjoyable, though it can be time-consuming.
You shoot your target – you adjust – you shoot again – until each pin is oriented in a way that it points your arrow in the right direction, and compensates for the distances you need. All you have to do when you are hunting is to decide which pin you want to use, based on the estimated range of your intended target.
Types of Bow Sights
There are several different types of bow sights, but finding one that works for you will depend on your preference and wallet. Here is a brief explanation of the sights most commonly used.
Fixed Pin Sights
Fixed pin sights are probably the most commonly used among bowhunters because they are simple to set, and when appropriately used, they produce a very accurate result. Most fixed pin sights allow many pins to be added which offers you the opportunity of setting different distances, but the more pins you add, the more they are likely to be a hindrance than a benefit.
The top pin is used for aiming if you are shooting a projectile at close range while the bottom pin is used for longer distances, so we suggest setting each pin before going out on your next adventure unless you know how to fix these pins in a short amount of time.
Moveable or Single Pin Sights
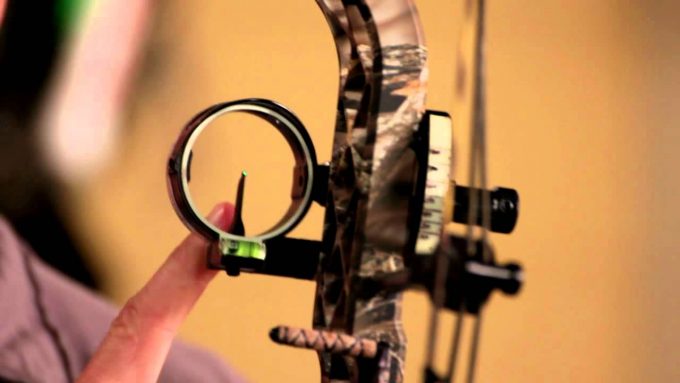
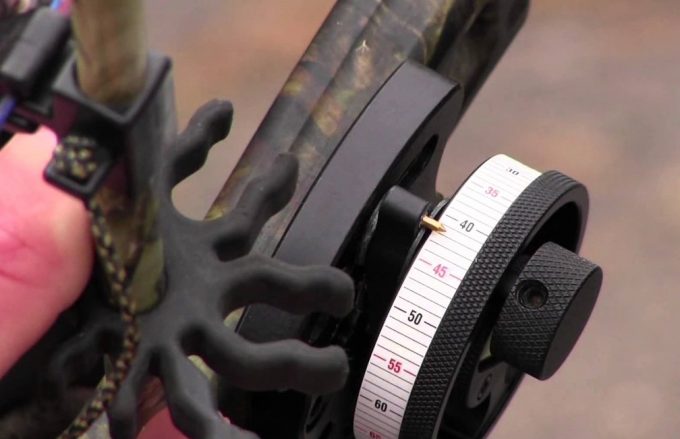
These pin sights are built with one pin, unlike the fixed pins, which offer three to five distance sets. Correctly adjusting a movable or single pin sight can be done in few seconds, and customizing it for your next shot will have the whole housing unit either slide up or down.
One significant advantage of a single pin is the ability to shoot the target on every time, and you can’t accidentally use the wrong pin on your shot because there is only one option so you’ll always be right when you use it. However, the significant disadvantage of the single pin sight appears to be the lack of ability to adjust the sight to changing circumstances.
Pendulum or Treestand Sights
Every experienced hunter knows the difference between shooting on level ground, elevated areas or uneven terrain. Most hunters use more time on the ground than on the tree stands, so correctly judging these yardages can be a little more challenging.
Pendulum sights are unique, and they offer a new dimension to your moveable and standard pin sights. This pendulum provides the tree stand hunter a more accurate shot, allowing for the downward angle of the bow.
Hunters who use a pendulum sight in such a situation will become more accurate. If you hunt in an elevated spot, then a tree stand sight is for you, but if you do not, then is not for you.
Competition Sights
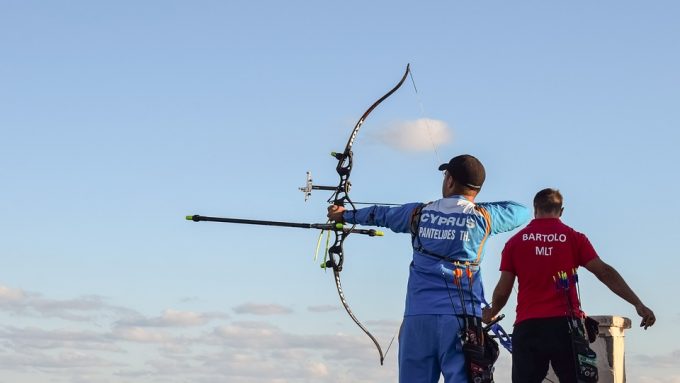
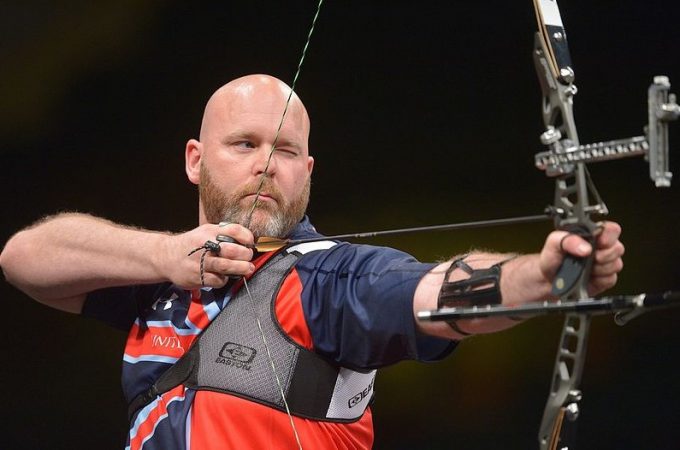
The competition sight bow is a bow sight used explicitly in competitions, and it is the most expensive bow sight of all because these sights are built to provide exact precision. However, competition sights have a wealth of features that will make a perfect hunting outing.
Individuals interested in the competition will love the sophistication and technology associated with this bow sight. That said, it’s imperative that you buy the right one if you are planning on entering an archery tournament.
How to Actually Adjust Your Sight
Every bow has different methods of moving the sight, but the principle is always the same. Whether you’ve upgraded to a new bow or you’re just starting out, or you simply need to give your hunting bow a check before the season start, this guide is put together for you.
With a few simple steps, you can go from okay to super accurate when shooting your bow. Therefore, it’s worth it to invest some time to make it right. If you want to know how to adjust your bow sight just follow the steps we have outlined below.
Get a Bow Sight
Bow sights are of a wide range, and they can be accessed from any bow shop or online store where instruments for arrow-based weaponry are available. There are different types of bow sight as per your game needs. Therefore, we recommend you get the one that suits your need.
Mount Your Sight
Most bows have pre-drilled holes for mounting sights. Do not over tighten the screws, as you could damage the bow. Begin by installing your sight to the bow using the screws provided with your sight and follow all the instructions provided with the sight, for proper installation. The sighting pins of the sight should be lined up vertically with the bowstring.
Set all Sighting Pin Adjustments
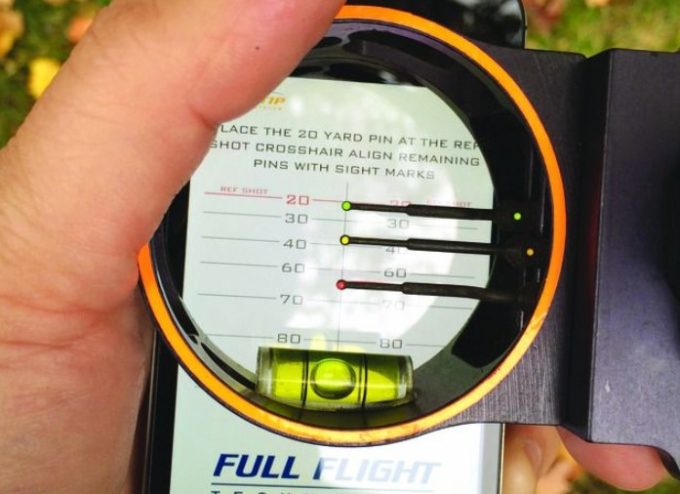
Place the pin in the sight housing and adjust the pin with your gang elevation adjustment. Keep in mind that it’s better to have most of your pins near the center of your sight housing for the best accuracy.
We suggest you use a pin for every 10 yards starting at 20 yards. A five-pin sight will have pins for 20, 30, 40, 50 and 60 yards.
Marking Points
Ideally, you should be able to mark off every 10 yards from the target, at least up to 40 yards. For best accuracy, consider using rangefinders if you have access to one. Once you can hit the target at 10 yards consistently, it is time to repeat the same process at 20 yards. You will want to adjust the top pin for better accurate shots at 20 yards and keep it there for the rest of your shots.
Once you have a “20-yards pin” it is time to work on the remaining ones. Bear in mind that sighting in your bow is time-consuming and requires tons of repetitions.
Set Your First Pin at 20 Yards
Use a rangefinder to check your focuses at every 20 yards and be exact. Remain on the ten-yard checkpoint and make a shot utilizing the top pin. Take a couple of more arrows shot and repeat the process.
Notice the spot where the arrows hit in comparison to the sight. If your observation shows that the arrows move above the mark of the pin, then do this again until you are sure that the arrow does not shoot above the pin on top.
When you are confident that the arrows no longer went above the pin on top, then go ahead to carry out adjustments for the arrows moving too far left or right; to accomplish this, move the sight right and left correspondingly. Make no less than four shots, keeping in mind the end goal to make exact conformities.
Set Your Second Pin at 30 Yards
This is the next step and should be easy for you if you got the 20-yard pin and finished setting is accurate to an extent. This stage is also one of the most essential and you ought to stress over exactness here.
Make use of the second pin to aim the sight, then shoot a couple of arrows at your target. You have to move 10 yards in reverse and do the process previously done, once more.
Don’t forget to move the entire sight box as you perform adjustments at this point. Don’t rush as you sight in the second pin so that you can attain the ideal accuracy. When you are certain, then you can proceed onward to the 40s yard pin, which is the last one, left.
Move Back the Third Pin at 40 Yards
This is the most crucial step and the final one. After completing this, you will hopefully have adjusted your bow. When you locate the third pin, you have to move in reverse towards the 40-yard point, which is the last check.
Shoot arrows at your target while looking at 40 yards (third) pin in sight. This time, as you perform adjustments, what you should move is the pin itself and not the entire sight box.
Lastly, you have to check and retreat if each point produces accurate results. So you first go onto the 30 yards point and check if the bolt is precisely making the right shot. While looking at the 40-yard pin, which is the third pin in sight, release the arrow at your target.
Record Your Settings
Once the pins have been adjusted, it is essential to record the position of each one. This will be a good reference point so you can quickly reset the pins if you decide to install a new sight in the future or if they get knocked out of place.
Follow the Arrow
A standard rule of thumb when making your adjustments is always to follow the direction of your arrow. Use arrows of the same spine, point weight, and point design to ensure consistent flight behavior. Move the bow sight pin to the left if you shoot to the left.
Lower the sight pin if you shoot low. Improve your shootings strategy by shooting at very close distances to your target and gradually increase your range over time because you will quickly become frustrated trying to adjust the bow sight all the time if you cannot shoot consistently.
Practice Positions
Maintain a steady position from where you’re standing while shooting, and this will guarantee you that you won’t disappoint yourself when making the real shots. When you practice this position for a long time, you will accustom yourself in holding your bow.
Time to Shoot
You should now have a flawlessly leveled sight ready for any hunt you can throw at it if all of the steps have been followed. To experiment with the new adjustments, take some challenging shots and see yourself if you have improved accuracy and consistency in your shooting.
Safety Precaution of Using a Bow Sight
There are some basic safety rules to follow when using a bow sight. Before using this equipment, please abide by the following safety guidelines and warnings.
- It’s recommended that you wear an armed guard.
- Take off your watch or jewelry before you begin shooting.
- Ensure you keep your arrow point towards the ground as you nock it.
- Never allow anyone standing before you while you shoot.
- Never draw your arrow if there is anybody between you and your target, even if you don’t intend to shoot yet.
- Carefully inspect that the limbs, riser, cam, and idler wheel are in proper condition and orientation.
- Make it a routine to check the bow limbs for damage before you start shooting.
- Never outdraw your recurve bow, this can result in severe injury and damage to your equipment.
- If you observe signs of wear on your string do not wait for it to become completely non-operational.
- If you are using wooden arrows, make sure you always check them for cracks or splintering before your shooting session.
- Always supervise your kids when shooting. Bows for kids are not toys and can hurt.
Wrap Up
Using a bow sight is a great way to improve your overall accuracy. If you are ready to take the next step and become a better target hunter or shooter in competitions, pick the best bow sight based on your preference, and start enjoying all the benefits a sight can offer. Once it is installed, and you’ve done, sighting in is a breeze.
We hope you got something out of this how to adjust bow sight guide. If you feel we’ve missed out on anything or you’ve something to share with us, please feel free to let us know in the comments section below.


