You know how hard it is to hit the target dead on the first time, right? Does it seem like you can go through countless misses until it feels like both the rifle and the scope were not worth spending on? Are you tempted to think that maybe shooting isn’t your thing?
Don’t be, when you go through our tips on how to sight in a rifle scope, your faith on becoming an outdoor expert will be renewed again. Knowing how to sight in a gun can make you happy in the field. The bravos you get from other participants provides a feeling of contentment and a sense of belonging.
Besides that, knowing how to re-calibrate your gun for precise shooting puts your ammunition to good use. No one enjoys seeing a whole box of bullets go to waste. This article will take you through practical steps of sighting in a rifle, factors that impair this process and the safety measures to observe while at it. So, if you’re enthusiast interested in zeroing your scope, read on!
What Exactly Are the Point of Aim and Point of Impact?
There is no way you can become an accurate shooter without knowing the basics of shooting. Understanding what POA and POI stand for simplifies everything. It helps you figure out your next move. In layman’s terms, the point of aim is where you expect to hit; it’s a target which is usually highlighted by the red dot or bulls-eye.
The point of impact is where your bullets actually hit. The difference between these two points is what experts can refer to as misalignment of the scope and the rifle. Zeroing in ensures that both of them work in perfect harmony.
The point of aim and point of impact can also be defined in terms of the gadgets used. The point of aim is basically where the scope is focusing at while the point of impact is where the gun’s barrel is pointing. That’s simpler, right?
Factors Affecting a Rifle’s Zero
Any process that involves the use of force or emits heat can throw the scale out of balance. While out in the field, you will notice that your accuracy becomes a cause for concern every time you take a shot. Here is a rundown of the main factors that affect a rifle’s zero:
Range
The trajectory of a bullet is never straight; it’s more of an arc. The moment a bullet is fired over a long distance, it will succumb to gravity and hit the ground before reaching the target. No matter how powerful the cartridge is, the bullet must eventually lose steam and take a downward trajectory.
What we are trying to say is that a rifle must be zeroed at a particular range in order to clamp down the target. Every additional distance will mandate corrective input using the elevation knob in order for the rifle to hit the bullseye. This is one of the earthshaking discoveries newbie shooters are never aware of.
They keep missing the game wondering what happened to their rifles. It’s all about zeroing at a particular range. Generally, military rifles are usually zeroed at 300 meters due to the serious and advanced nature of their job. Civilians don’t need to shoot at such a long range unless when hunting in an extensive land.
It’s considered impractical to zero a rifle scope at longer distances; usually 1000 yards or more. At these ranges, many other variables come into play to mar precision. The best distances you should practice with are between 100 and 250 yards.
Quality of the Rifle
If you have a knack for subpar rifles, you should not expect too much from them. The same goes for a lowly priced scope. You may find yourself dialing the turrets every other moment just to get a not-so-precise shot.
It’s okay to want to save some bucks while shopping for a rifle scope but penny-pinching won’t do you any good. If you have a few cash lying around, feel free to grab a better quality rifle or scope.
Quality Install
Zeroing is simple if your rifle scope is well installed. Take some time to know the best way to mount a scope on a gun. There are countless how-to guide videos and articles that you can use to do this. If your scope came with an instructional guide, check if they explain how to zero a rifle.
Problem with the Gun’s Barrel
This is the path that unleashes the bullets. Hence, any disruption or mechanical default will affect the speed of the bullet resulting in inaccuracies. For instance, an overheated barrel produces some kind of mirage on the upper side of the rifle which creates refraction. This means the image you are perceiving may be a mere reflection.
Using a Different Type of Ammunition
The same bullet you used during the zeroing process should be used during the actual shooting. Keep in mind: a heavier or lighter bullet will not hit the target!
Even more, some small details like changing the eye relief or holding the rifle differently can have effects on a previously zeroed value. While heading out to the field, make sure to adopt all the conditions and tools that existed during the initial realignment.
How to Zero a Rifle Scope
Now that you know all the factors that can mar your zero, it’s time to take a look at how you can precisely realign your rifle scope’s zero every time it’s thrown off course. Let’s start with what you need.
Requirements
The success or failure of a hunting or shooting spree relies a lot on the tools available. Some of the main items you need include:
- Rifle and scope
- A solid support for the rear and front part of the gun
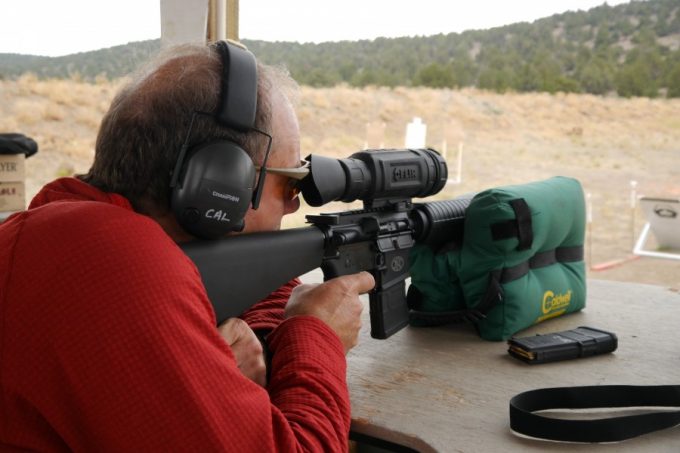
- Proper eye and ear protection
- Armor
- Snacks and drinks (if you’ll be shooting away from home)
Prepping stage
Before you can start with the zeroing process, you need to have a proper understanding of your scope, its calibration, the adjustments, what the reading translates to, etc. It’s important to read widely on this topic in order to have an extensive understanding of various types of scopes and how to sight them in.
However, the best and easiest method would be to buy one and actually use it to sharpen your sighting skills. As a learner, anything that is cheap but functional could suffice. Once you have gained adequate experience, you can go for high-end models that have advanced specs.
Okay, now that you have the scope and know how to use it, the next thing you need is a clear sighting target for practice. Other two items that most folks carry along include a solid platform to shoot from and good front and rear gun rests (usually sandbags or bipods).
Now make sure everything is well fixed (you should avoid any moving parts). It’s also a good practice to take a deep breath before you start. It helps to calm nerves and minimize shaking.
Since the mounting process involves tightening and loosening of screws, it’s imperative to have several screwdrivers so you can tighten or loosen screws of virtually any scope or mount. Using wrong drivers can result in screws being damaged or striped hence becoming useless.
Step one: mounting the scope
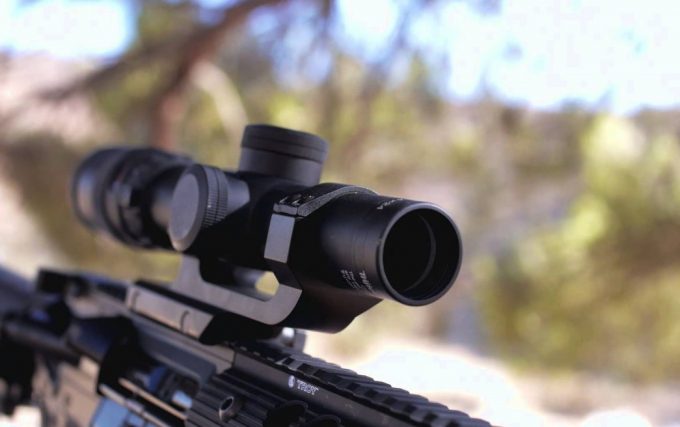
The first step is mounting the scope to your rifle through the rings and bases. You have to execute this carefully since a crookedly mounted scope will result in inaccuracies. Also, do not over tighten the screws. While mounting a scope on a rifle, whether it’s loaded or not, keep the barrel faced away from other individuals.
Step two: center the turrets
Most scopes come from the store with the turrets not centered. First, you want to ensure there is no random reading so turn the turrets, (one at a time) all the way to one end. Any end can do. Starting with elevation turret, turn it back but this time round counting the number of clicks until it hits the hard end.
Take that number, divide by two and use the new value as the number of clicks to enter into the turret. This should center it. Do the same for the windage turret. Note that this process only centers your crosshair, not zero it.
Step three: View through the barrel
Once the scope has been mounted on a rifle and the crosshairs centered, it’s time to take the rifle to some place where you can get a range of approximately 100 yards.
You can position your gun indoors then look through the window. Just make sure the distance ahead is 100 yards or more. Remove the gun bolt and view through the barrel. You should be able to see the other end or rather, your target.
Step four: Gun positioning
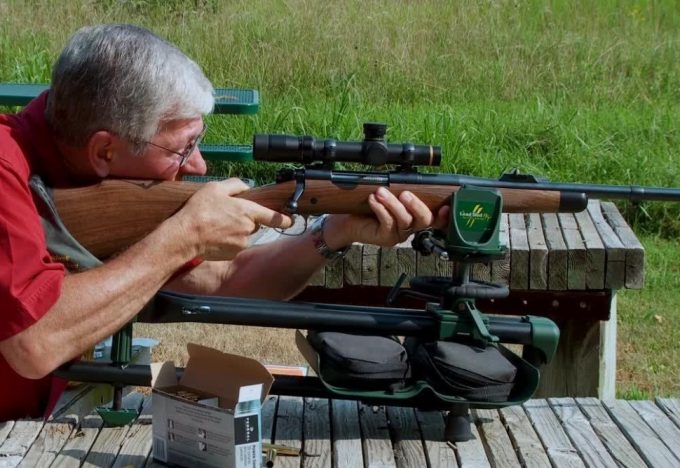
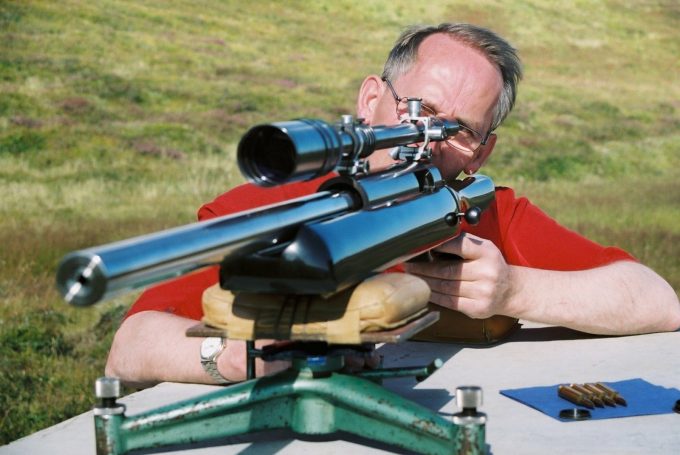
Position your rifle on a bipod, gun vise or a shooting bag. There is no need for sophistication here. Just ensure your gun rests on a secure base while pointing at your target, which could be a mail post, tree trunk, streetlight or whatever.
Step five: lock on the target
By looking via the gun’s barrel, ensure you can view the target clearly. Without touching the gun, view through the scope and see if it’s locked on the target as well. If it does, consider yourself lucky. Otherwise, carefully turning the windage and elevation knobs should position the crosshair to the target the barrel is pointing at.
Step six: ready to go!
Once the gun’s barrel and crosshairs are locked on the same target, your rifle scope is roughly zeroed and ready for shooting.
Zeroing at a Range
Now that your scope has been roughly zeroed, it’s time to put it on the field and shoot at a certain range. Here is what you need to do:
- Prop your gun on a bipod or sandbag. Make sure not to touch the gun unless when necessary so you don’t mess with the settings.
- Load your rifle and lock the crosshairs on the target that is 100 meters away. Take a deep breath and carefully make the shot.
- So where did the shot go? Was it below or above the target? The only way to know this is to head over and inspect. In case there are several shooters around, you’ll need a binocular or spotting scope to view the points of impact.
- Now, let’s realign the scope by looking through it and locking the crosshairs at the point of impact. To do this, turn the windage and elevation knobs until the crosshairs drift towards the bullet marks/holes. In simple terms, we are walking the crosshairs to the bullet hole.
- Now the rifle scope is zeroed on the target. This time around, your bullets should tear through the target. If you missed, go back and start over again.
Up to this point, it’s safe to say that your gun and the scope are speaking the same lingua franca. Don’t smile just yet. Your zero gets altered every time you shoot. Weapons with a high level of recoil may need frequent zeroing due to the reaction force dismantling existing settings. You need to be consistent to obtain desired results. Any changes outside and inside the rifle and scope mean new zeroing is needed.
If you long for greater accuracy without having to do a lot of manual work, you can invest in a scope that is equipped with advanced technology. For instance, some scopes can calculate bullet drop and windage thus allowing you to use the most appropriate settings. Some do spot a convenient illuminated bulls-eye or laser guide to increase your chances of hitting the target.
Mistakes People Make While Zeroing Rifles
As a rookie shooter, the chances are high that you are still getting used to your rifle and the scope. In the process of turning the knobs and positioning the rifle, you are likely to commit some offenses that will make it impossible for you to afford a single successful shot. Some of the huge mistakes you need to watch out for include:
Over Adjusting
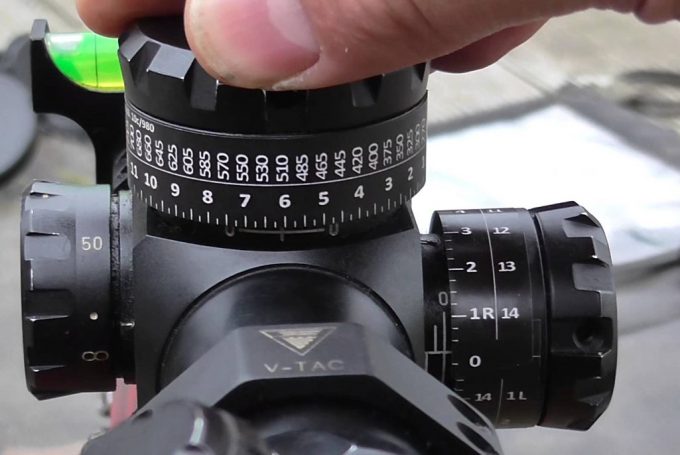
A scope is a simple device with three knobs; one on top and two on the sides. The latter control left and right movement of the crosshairs while the former controls up and down movement. On most scopes, a single click represents a quarter MOA (Minute of Angle) or a quarter an inch.
So, if you need to move the crosshairs to an inch left or right, that would be four clicks in those directions. The problem with newbies is believing that by turning the knobs every time, they are getting close to making the perfect shot.
You need to note that failure to hit the target doesn’t necessarily mean you need to play around with the knobs. Other factors like a gust of wind, weight of the bullet, or even your positioning can contribute to the problem as well. This means you need to keep tabs on everything so you can know where the problem is rather than over adjusting.
Besides being pointless, adjusting the scope after every shot can drain you of energy quickly. Why don’t you make three to four more shots, see the pattern and then make changes? This is one of the best ways to address your failures.
Shooting too Much and too Fast
It feels nice to see bullets fly from the barrel one after the other but you need to understand that this is neither a movie nor a war zone; it’s a simple practice of zeroing your rifle.
Just touch your barrel after three to four shots, and you’ll know what we mean. The barrel heats up whenever you make a shot. It needs some time to cool down before shooting again.
What’s the worst that can happen?
Your gun will become more erratic with every short made. In a worst-case scenario, the barrel will warp and thus compromise your accuracy completely. So, if you are thinking of becoming one of the best hunters out there, you must start nurturing patience.
Safety Measures While Shooting a Rifle
Dealing with guns and bullets can be fun but extremely dangerous as well. To ensure your safety and that of others, you need to follow shooting rules. Read some of them below.
- Adjust eye distance. While setting the eyepiece to get a clear vision, you must ensure the distance between your eye and the rifle is long enough. During a heavy recoil, your eye may just be lucky to escape being bruised by the scope (a term called “being scoped.”)
- Keep your finger away from the trigger. Unless you are ready to make a shot, you should always keep your finger away from the trigger. Suppose your finger was on the trigger and you get startled. Every muscle will contract including those in the finger, and the rifle will go bang, probably hurting someone.
- Keep your gun away from kids. If your gun is always loaded, you may want to keep it far away from the curious kids-even if it has a trigger lock.
- Know where your rifle is pointing and how far the bullet will go. This is a rule that aims at saving lives. Your gun must point in the direction where there are no people. If there is a road or human activity a bit ahead, you should just find another venue.
Wrap Up
Now you see that whether you are going hunting or you’re in for a shooting spree, you need to ensure your rifle scope is zeroed so you can nail down as many targets as possible. With the tips mentioned in this article, you shouldn’t have trouble aligning the point of aim with the point of impact.
Besides having a great rifle and scope, remember to carry along all the accessories that will make the activity a success. Also, remember to observe all the safety rules so no one gets hurt in an exercise that’s supposed to be purely for fun and don’t forget to leave your comment in our comment section below.


