Do you agree that hitting a target with an arrow isn’t quite easy? Are you still thinking that simply pointing the arrow in the general direction of your target will do the trick? Are you disappointed that you found out that this is simply not true? Don’t worry, that’s why we’re here as we’re about to explain how to sight in a bow.
This process maximizes your chances of hitting your target and getting the best shot is incredibly important, especially when hunting. Sighting in a bow will allow you to compensate for the anticipated arrow drop due to gravitational pulls over the distance as well as disturbances inflicted by the firing process at the time of aiming.
That’s why, today, we’ll talk about how to become a pro when it comes to sighing in a bow. We’ll describe several methods according to the type of bow you have and how to make sure the bow is prepared for a clean shot. Let’s start!
The Importance of Sighting in a Bow
The procedure is important in increasing the level of accuracy. This is perhaps why you may want to have a look at the following guide on the sighting. It makes every shot count! Apart from improving the accuracy of your aim, there are other reasons why you should consider using a sight. They include:
- Affordability – assured affordability is a major factor when purchasing bow sights. Chances of losing your arrows when shooting without sights are high. You can always lose them. However, with sights, everything becomes pretty easy. Your shots are accurate, so you won’t lose your arrows.
- Focus on target – focus is all you need to make a shot. It’s important to have focused on the object when aiming to shoot. If you have tried before without a bow sight, you will agree that there is a large peep sight that you won’t be able to concentrate on the object alone. You will be distracted by anything happening around the objects. This causes ultimate failure.
With the importance of having a bow sight, it is important to understand how to properly adjust the bow sight. At first, you may find it quite challenging. In a bid to help you familiarize, we have developed the guide below which breaks the whole process down to simple and easily understood steps. Have a look!
Preparing the Bow and Range
Preparing the bow and range is the first step when sighting in a bow. As the name suggests, this step basically involves getting your bow ready and making the range. This is important to ensure that the sequential steps flow smoothly. You will also gather all you need for the whole activity during this phase.
Set Some Few Days Aside
To sight your bow correctly, you should assign time to the task on a daily basis, at least for a few days in a row. Spread your sighting periods over several sessions. Note that fatigue affects your power and overall accuracy. Your form is also most likely to shift.
Therefore, we advise that you spread your sight over the few days to enable you to compensate any issues arising due to fatigue, a shift in stance or human error. By doing this, you will also identify what you require during the sessions in details. For instance, assuming that your bow is already in tune, you might require the following to sight in a bow.
- Arrows
- A shooting block or target
- An Allen wrench set
- A mechanical release. Though optional, a mechanical release allows you to have more control and consistent release of the bowstring.
Buy the Sight
When looking for the perfect bow sight, you should look for a product that fits your needs. If you are a beginner, you should consider the cost as it’s not worth it to invest in a sight that’s extremely advanced but difficult to use. For instance, if you decide on a compound bow, you’re off the hook as these come already equipped with sights.
Bow sights are easily available at sporting goods stores and specialized archery suppliers among other retailers. Experts in archery will attest that the easiest sights to use are those reasonably priced as less expensive sights have limited bells and whistles.
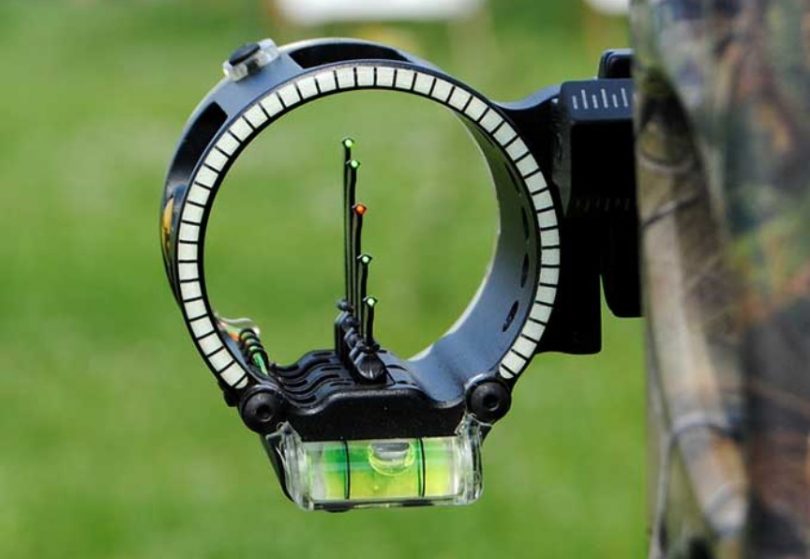
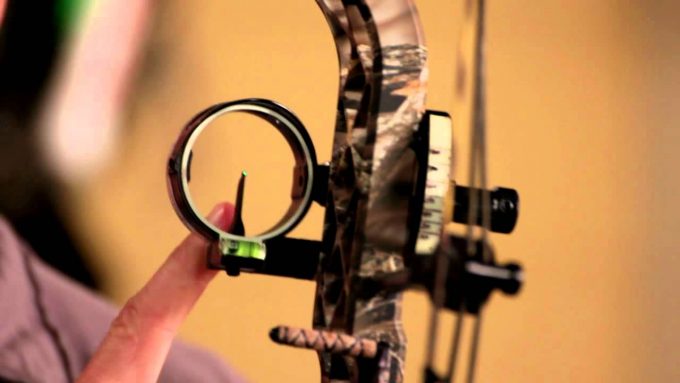
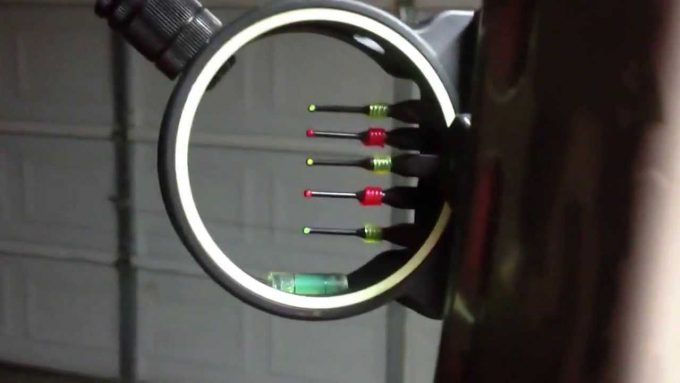
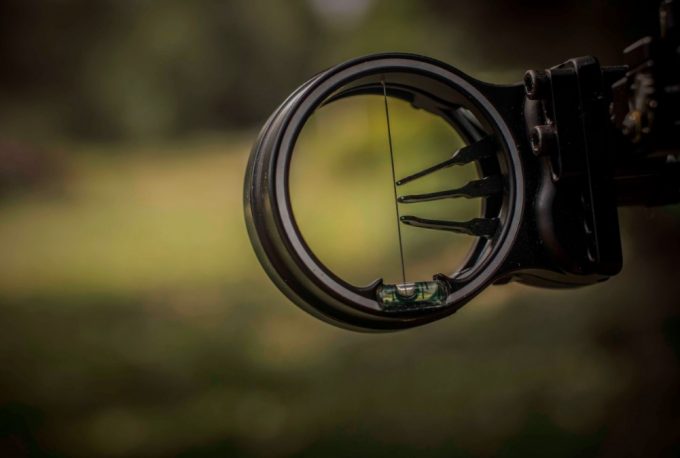
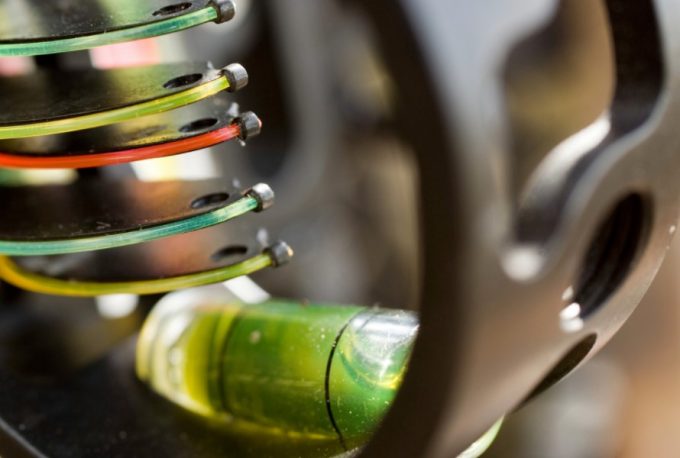
Sights are often fitted with some pins in a myriad of colors but all are set for the distances you, as the archer, determine.
Sighting Pins
The pins are independent of other pins, and one can be adjusted individually without affecting others though they can also be adjusted together, as a whole. The pins can move up, down, left or right but regardless of your specific method or sight, the principle of setting the pins is always the same.
For instance, if the arrows are intended to hit the left, the pins ought to be adjusted to the left. Similarly, if arrows are hitting high, pins must be moved higher. In other words, the pins move in the direction that the arrows are until they hit the target.
When searching for bow sights, ensure that they are easy to mount or otherwise, you will face a difficult time installing them. Sights often come equipped with a bracket for mounting it to your bow so you should also verify that the sight accommodates both left and right-hand archers. This guarantees effectiveness regardless of your dominant hand.
Types of Sights
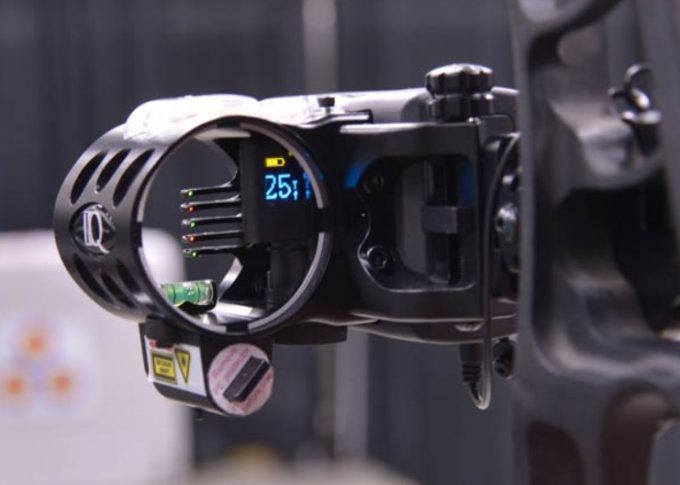
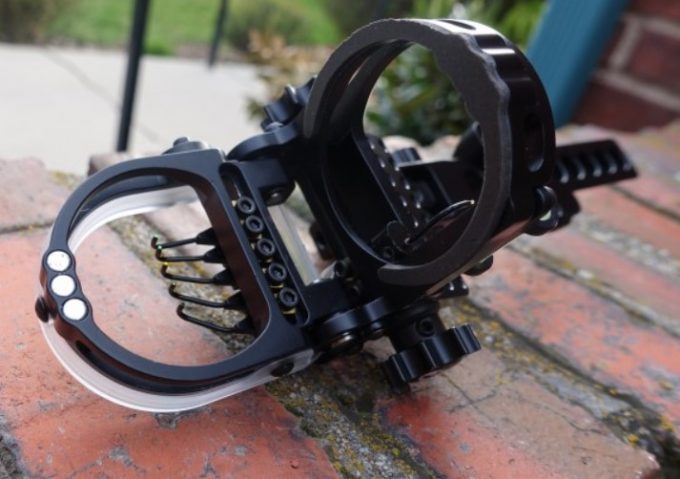
There are four main types of sights available on the market currently. They include the fixed pin sights, moveable pins sight, 3D competition sights and pendulum sights.
- Fixed sights – are extremely easy to use and this explains why they are commonly used. They have 3 to 5 pins set at a particular distance, so while the top pin is set at the nearest distance whereas the lower pins are set for longer distances. Once the distance is set, they remain fixed and give the same accuracy all through.
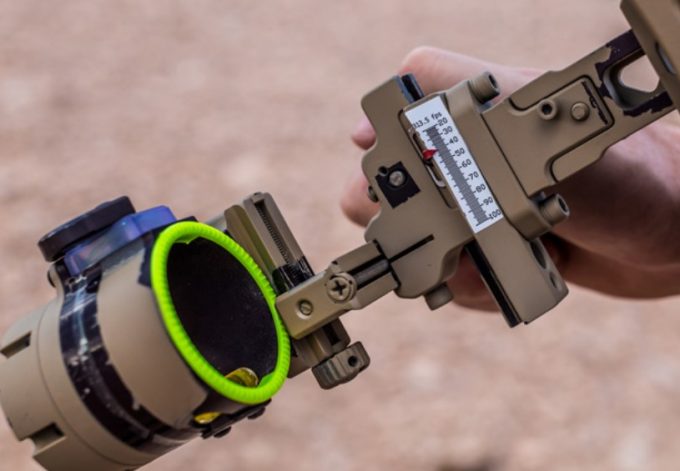
- Movable pin sights – are different from the fixed sights as adjusting them before each shot is necessary. Besides, they have single pins unlike the 3 to 5 pins in fixed sights. They have a lever and brakes system that helps in adjusting the pin up and down.
- 3D competition sights – are specifically designed for competitions, which is why they are expensive and rarely used. But they are perfect for situations where precision is a must.
- Pendulum sights, on the other hand, are designed to handle positions using elevated adjustments because this system has a single pin hinged on a pendulum swing, which makes it easier to take perfect shots. Also known as tree-stand sights, they are perfect for close range shots.
Just to mention, there are two distinct forms of mounting sight brackets: dovetail and fixed. Dovetail mounting allows for removal and re-adjustment while fixed mounts don’t. We feel it is prudent that you prefer a fixed sight to a removable sight, seeing as fixed sight is more appealing compared to removable dovetail solutions.
We recommend having fixed sights for hunting and recreation purposes. That said, an affordable bow sight retails at approximately $40, while competition sights, on the other hand, can cost up to 5 times more.
Mounting the Sight to the Bow/Installation
Having bought the sight, it is time to install the bow sight to the bow. Follow the steps below to ease the installation process.
- Begin by reading the installation manual that comes with the sight.
- The sight should be attached to the riser of the bow. Sights often come with connections that make this process possible with utmost ease.
- Often, you’ll find bows having pre-drilled holes for attaching the sights.
- Ensure that you don’t overtighten the screws are they could damage the bow.
- When installing, ensure to line the sighting pins vertically with the bowstring.
- Make sure that your sight forms a right angle with the bow.
- After completing the installation process, let your sight settle for at least 24 hours before making any adjustments.
- Check after 24 hours and make the adjustments if necessary.
Setting the Sighting Pins and Targets
All your sight pins should be set to mid-point because this will make it easy to make adjustments in whatever direction you have to make. An Allen wrench comes in handy in this process. Once your bow and sights are intact and pin properly adjusted, have your targets established.
When it comes to marking the ranges, mark off at 10 yards (9.1 m) from the target up to at least 40 yards (36.6 m). You can use a rangefinder to increase the accuracy of the distances you have set, but sure that your target it is durable as you will be making several shots repeatedly, and an easily damaged sight won’t last long.
Sighting It In
This is the most engaging part of this process because it is the doing phase. As mentioned before, you should have set your targets at different sites, which include the 10-yard mark, 20 yards, 30 yards, 40 yards and much more as you wish. Begin by setting your first site.
Setting Your First Pin – 10 and 20 Yards
It is imperative that you begin at a distance of 10 yards. This is perhaps because the odds of missing are reduced. Your stance determines a lot when preparing to shoot. To do this;
- Stand so that your body is perpendicular to your target.
- Draw back the arrow with your bow.
- Look down the sight at the topmost pin and release the arrow at the target.
- Repeat this process with few arrows.
- Note where your arrows hit compared to the intended site. For instance, if the arrows hit above where the pin was indicating, move the sight box on the bow up.
- Repeat this step as many times as possible until the arrows aren’t shooting above the top pin.
Zeroing at 20 Yards
- Once you feel satisfied with this position, step back to 20 yards/ 18.3m which is considered to be the most critical distance for bowhunting.
- Repeat the sighting process as above raising the sighting box when necessary, making the adjustments for left and right targets respectively.
- When doing this, you can expect the arrows to drop a bit due to increased distance.
- Proceed to the next site once your arrows hit your target satisfactorily
Zeroing at 30 Yards – Second Pin
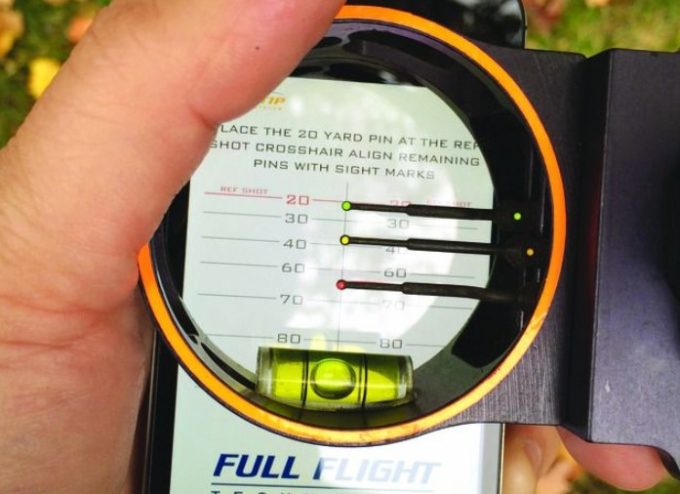
Once you have finished accurately setting the first pin, which is the 20-yard pin, proceed to the second pin, the 30-yard mark.
- Using the second pin, aim the sight down and fire a couple of arrows at the target.
- Perform exact adjustments as you made in the first pin until you get a satisfactory shot.
- For this sight, ensure to move the entire sight box when adjusting the settings.
- Also, take time to make the pin as ideal and accurate as possible as it will not be changing. It will be your sight’s anchor
Zeroing At 40 Yards – Third Pin
The 40-yard pin is the third pin in the bow sight.
- While looking at this sight, release your arrows towards your target.
- Perform adjustments as required but, unlike the 30-yard pin, move the pin itself instead of the entire sight box.
- Expect the distance between the 20 and 30-yard pins to be smaller compared to that of 30 and 40 yards.
- If you feel the urge to make changes in the right and left sight placements, return to the 30-yard marker and make the adjustments there.
Double Checking the 20-Yard
Once you are satisfied with the 30 and 40-yard pin sighting, return and counter check the 20-yard pins all over again. Revisiting the 20-yard pin is crucial to ensure that your bow settings are still intact. This time, if there are any adjustments to be made, adjust the pin itself instead of the whole sight.
Sighting Additional Pins
At this stage, if you have additional pins, for instance, the 4th pin will be for 50 yards, use the previous steps to sight your target. You may have additional pins for 50 yards, 60 yards, 70 yards and more. Training with these additional pins may help you get the maximum deer shot if you are a hunting enthusiast.
It will also enable you to fix small form errors even in closer groupings and make you more confident as an archer. Note that you should only move the pin to make adjustments.
Wrap Up
Taking time off to practice how to sight can really help improve your archery skills. You can imagine making excellent shots without necessarily calculating shot angles or worrying about the effect of arrow release when hunting.
Proper practice gets the skill deeply ingrained that you will be focusing solely on these moments, but we’re curious what issues you had with bow sighting. You can follow the guidelines outlined above to understand the various dynamics of how to do it better, but if you have other ideas of your own, feel free to share with us.


