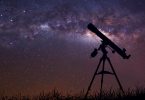


Wonder how to make a telescope with all your two bare hands even if you have no experience making it? It’s about 400 years since the telescope has invented and it has become an essential scientific instrument that changes the view of the universe. The telescope invention has changed everything. A telescope is a great icon of science.
It allows us to see distant objects. It makes far things appear nearer. It lets people see how beautiful the night sky can be. But a telescope is more than just an extension of our senses. This great invention is an instrument of thought as well. The telescope has changed how human view the space and how we view ourselves.
Today, you can buy lots of better than Galileo’s telescope, the first telescope, everywhere. However, if you don’t want to spend a bunch of dollars buying one, it is good to know how to build a telescope yourself. This article will teach you how.
Importance of Telescopes
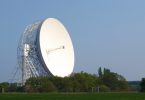
Why would you like to use a telescope? Astronomers use this amazing device because it shows distant objects better than our eyes can. By collecting light in a way that our eyes are not capable of such as ultraviolet, infrared, microwave, radio and gamma rays, telescopes can see lots of colors.
Human pupils are only a few millimeters across. This is why we can collect photons over a tiny area. What makes telescopes better is that it can collect photons over huge areas making it proficient at collecting lots of light that human eyes cannot.
Due to the wave nature of light and the nerves in the eyes of a human, we only have an ability to see details that are similar to the size of the Jupiter’s width. Telescopes, however, can see finer details. Another great advantage of telescopes is that it can record observations with cameras so that you can share your observations with the world.
Construction Process
Warning: Do not use the telescope to view the sun or it will burn the retina of your eyes.
A Telescope with Magnifying Glass
What You Will Need:
- Corrugated Paper (Ridge material)
- Cardboard
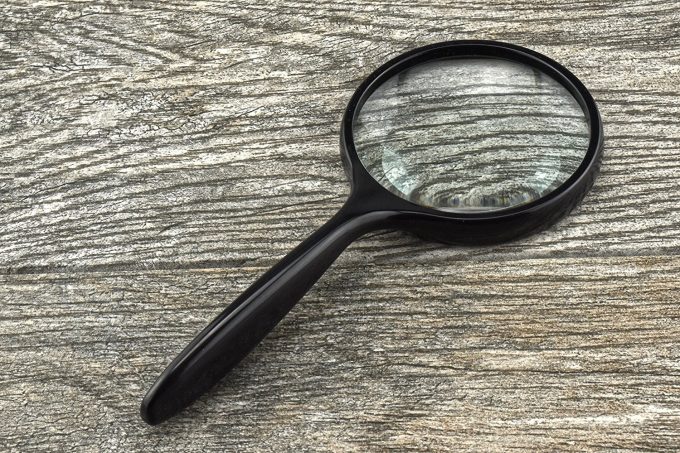
- Magnifying Glasses
- Glue
- Scissors
- Pencil
- Duct Tape
- Measuring Tool
Step 1 – Prepare Everything
Gather all materials needed before the project starts. This will make the process flow smoothly. For your ease, basic materials are listed above. A piece of corrugated paper can be found at any paper stores. Prepare two magnifying glasses but they shouldn’t have the same size.
They should be in a big and small size. White glue is fine but water glue is better for a cleaner result. Any scissor and pencil will do. You should plan to perform this project in a clean, convenient room.
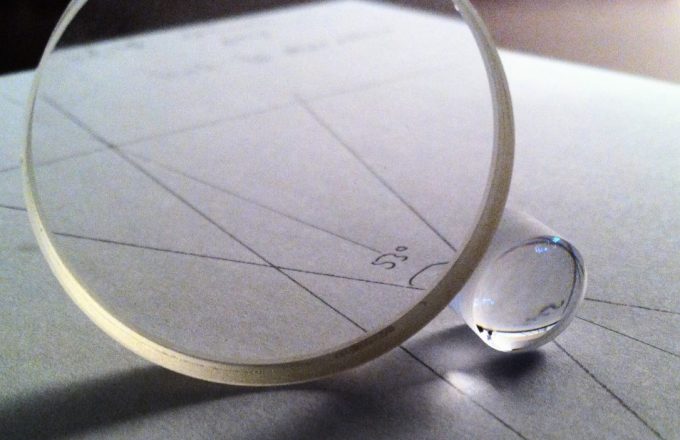
Step 2 – Set the Magnifying Glass
Get the bigger magnifying glass and hold it between you and the paper. Notice that, at first, you can see things blurry. To make it clearer, place the second magnifying glass, the smaller one, between your eye and the bigger glass.
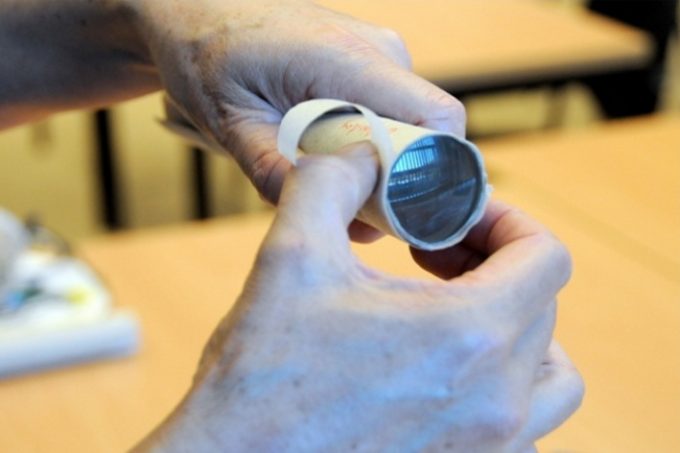
Image Credit: unawe.org
Move the bigger glass back and forth until it focuses on an object. You have to make adjustments to make these two glasses fit. When you see the print or any object appears larger and clearer, you have your spacing correct.
Step 3 – Wrap the Magnifying Glass
Wrap the magnifying glass with the corrugated paper. Measure the diameter, if necessary, and mark it with a pencil. You can just make estimation with this but for an appropriate measurement, you can use something like a ruler to measure it.
Pull the paper tightly. Don’t forget to make some extensions on the paper as you will need extra length to glue it around the glass. About 1 or 1 ½ inch extension from the mark is fine.
Step 4 – Cut down the Marked Line (First glass)
Once the measurement is done, cut the marked line down properly. Don’t cut it lengthwise. The cutting should be across the width of it.
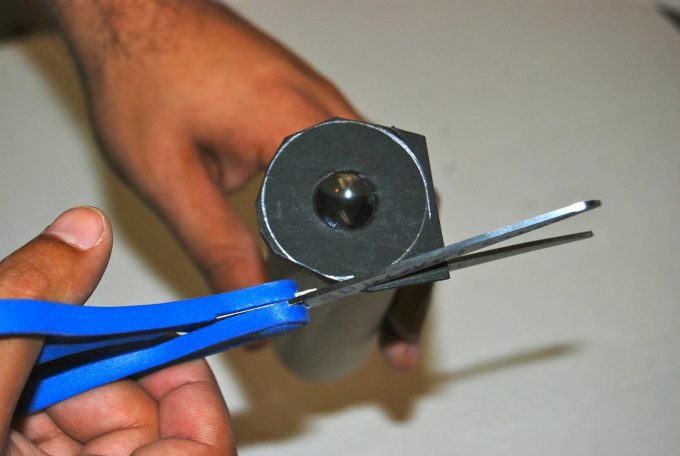
Image Credit: oaklanddiscovery.blogspot.com
To do this, cut a slot in the cardboard tube near the front opening. The slot should be able to hold the large magnifying glass so don’t cut the slot of the tube all the way.
Step 5 – Cut down the Marked Line (Second glass)
Cut down the second slot in the tube for the second magnifying glass. It should have the same distance from the first slot. Cut the same way as what you did when cutting the first slot.
Make sure the magnifying glass fits accurately into the slot and is capable of holding the glass throughout the project. This time, you should have a corrugated paper in two lengths in which one is slightly larger than the other.
Step 6 – Tape the Magnifying Glasses
When the cutting of the slot for the two magnifying glasses is done, place them now in their slots. The bigger one should be placed at the front and the smaller one is at the back of it.
Get a duct tape and tape them up. Leave about an inch of tube behind the smaller magnifying glass for the glue.
Step 7 – Glue the Paper
This is the reason why you left some part of the tube and paper uncut. You need to give some space for the glue to work. First, glue the paper around the two magnifying glasses. Do the same to the edges of the paper as well. Clean any mess. Make sure there is no other part of the paper touched by glue or you will get a crappy telescope as a result.
Step 8 – Glue the Tube
You have made the two magnifying glass tubes and some part of them remains uncut. This time, you need to glue the tubes the same way as how you glued the paper. Make sure that the tubes you created aren’t the same size.
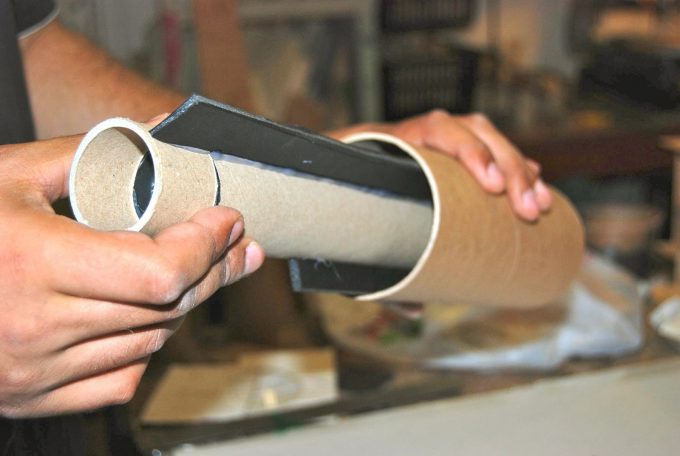
Image Credit: oaklanddiscovery.blogspot.com
Remember that magnifying glasses are not in the same sizes too. Fit the first magnifying glass tube to the second one. Make sure they do fit very well to ensure that the tubes are holding the glasses tightly enough.
Step 9 – Insert the Tube
Insert the first tube into the second one. The two shouldn’t be loose, they should fit very well. If you can’t slot the first tube into the second, make some adjustments. If it doesn’t still work, you have to start over. This is how important the measurement you have made is and remember to check again the steps you have checked.
Step 10 – Finalize
Finalize the scope you created. Recheck every detail of it. If you find no room for improvements already, you can now use your telescope for looking at things far away.
Tip: This telescope provides images in an upside-down position. If you wish to align the image with gravity, use the two prisms aligned in an N-shape to make the image corrected. Lens re-position is required to perform this action.
A Telescope with Lenses
What You Will Need:
- Lenses
- Mailing tube
- Coping saw
- Cutter or scissors
- Drill
- Glue
Step 1 – Prepare the Materials
Just like creating a telescope with magnifying glasses, you have to gather all the needed materials first before starting out the project. You need to have two lenses to perform this job. You can use two magnifying glasses and break the handles off to obtain the lenses or buy lenses at any market near you.
For a more effective result, use strong glue instead of getting an ordinary white glue. A mailing tube can be bought at any office supply store. Other materials can be acquired based on your own preferences.
Step 2 – Tear down the Tube (outer)
The mailing tube typically has an inside and outside tube. You will need both sections in creating a telescope with lenses but tear down the outer part in half first. As the lenses go in either section of the outer part of the mailing tube, make that area well cut.
Step 3 – Tear down the Tube (inner)
This time you have to cut the inner part of the mailing tube. Cut two pieces of them as they will serve as your spacers. The two cut inner tubes should have at least 1 to 11/2 inches measurement. Use the coping saw or any cutting tool you desire to perform this action. These spacers will hold the second lens in place so make the cut clean and straight.
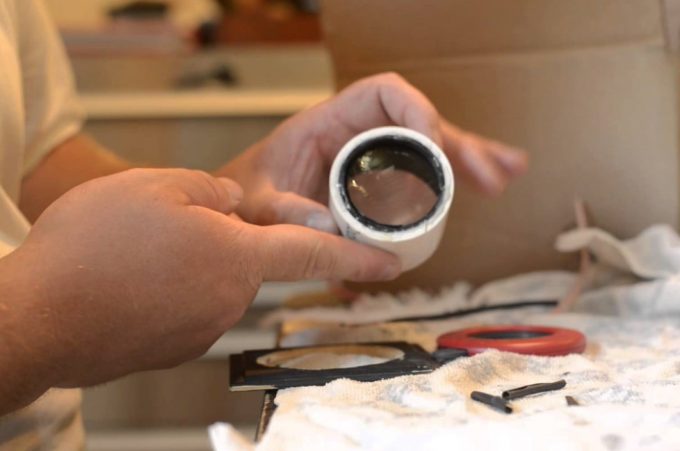
Step 4 – Drill the Mailing Cap
Locate the mailing tube cap. Use the drill and make eye-hole on it. With the drill, apply a little bit pressure to the middle of the cap to create such hole.
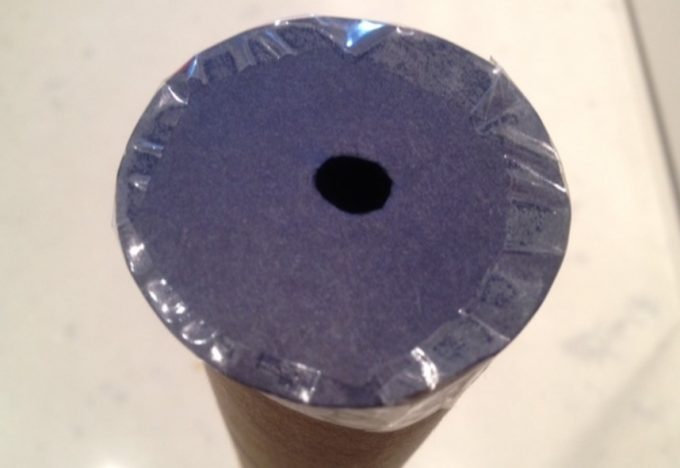
The best viewing results depend on how you make the eye-hole in the mailing cap. Make sure to make it as smooth and clean as possible for the best viewing outcome.
Step 5 – Make Holes
Use your drill to create holes on the outside part of the large tube. The holes you make should be compatible with where the lens is going to be placed in the outer tube.
The purpose of the holes is to let you put glue into the inner part of the tube and because of that, you need to make the holes big enough (not too much) for the glue to pass. Make holes at the end of the outer tube as well. This is for the eyepiece and the cap placement.
Step 6 – Glue the Eyepiece Lens
The next thing you need to do to make an amazing telescope with lenses is to glue the eyepiece lens next to the removable cap. The flat side of the lens needs to be against the cap.
Glue through the holes you made and turn the lens. This will make the glue well-spread. Put the lens into the tube. Press it slowly and allow it to dry.
Step 7 – Cut Off
Cut the closed end of the outer part of the tube off. In doing this you will end up sticking the inner tube into the outer tube. You should be doing this through the hole you made by cutting the closed end. Don’t forget to make the job good-looking. Clean any mess.
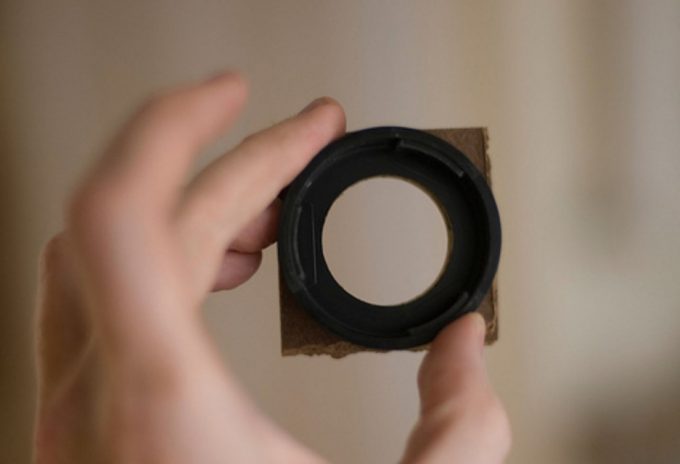
Step 8 – Slot the Spacer
Since you have tear down the inner part of the mailing tube to make spacers, insert the first one into the outer tube. Make sure that the spacer is lying flat on the inside of the outer tube.
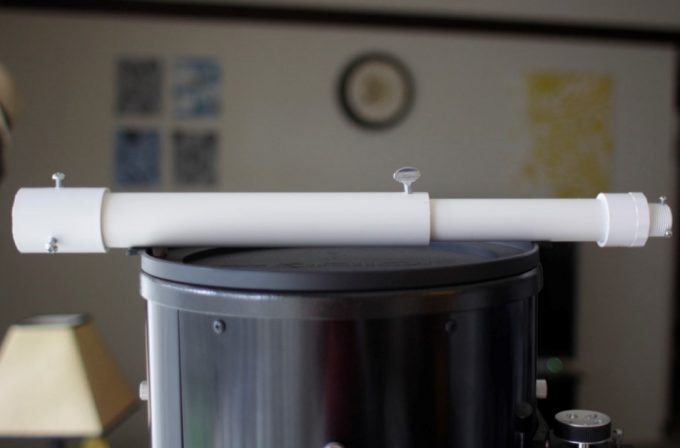
Image Credit: distantfuturejosh.com
Doing so will hold the concave-convex lens in place. Then drill the holes. Put the glue inside. Do the same as what you did in putting glue on the eyepiece. Avoid any mess, if possible.
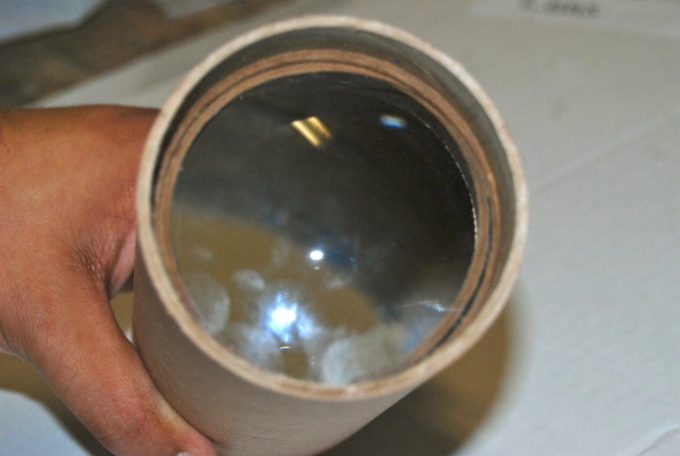
Step 9 – Slot the Lens
This time you have to insert the lens. Insert the second spacer as well. Once again, get your drill, make the holes, put in the glue and spread it around by turning the lens and spacer a bit. Put a little of your force in and let it dry.
Step 10 – Insert the Tube
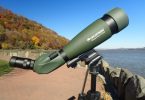
Put the inner tube into the outer tube. If you are not getting the right focus, slide the pieces until you reached the focus you think is best. This kind of telescope provides about 9x magnification, making it great for the moon and big stars.
Summing Up
If gazing at the stars and the moon at night is one of your most pleasurable hobbies in life, you probably need to have a piece of a telescope in sight. Building a homemade telescope is something that anyone can perform – even those beginners. This is a very enjoyable project that everyone would love take on.
Image Credit: distantfuturejosh.com
To build your own telescope can make that enjoyment even higher. The steps and procedures mentioned above will be your guide. There are many different ways to create your own telescope project. You can make one from scrap through the use of the items you already have at home or simply buy a telescope kit on the market.
How to make a homemade telescope – the best way – is now within your reach! So, the next time you view the beautiful night sky, create your homemade telescope gear and clearly see the good-looking things up high. Finally, we’d love to hear about your efforts. Let us know how your projects went in the comments section below.